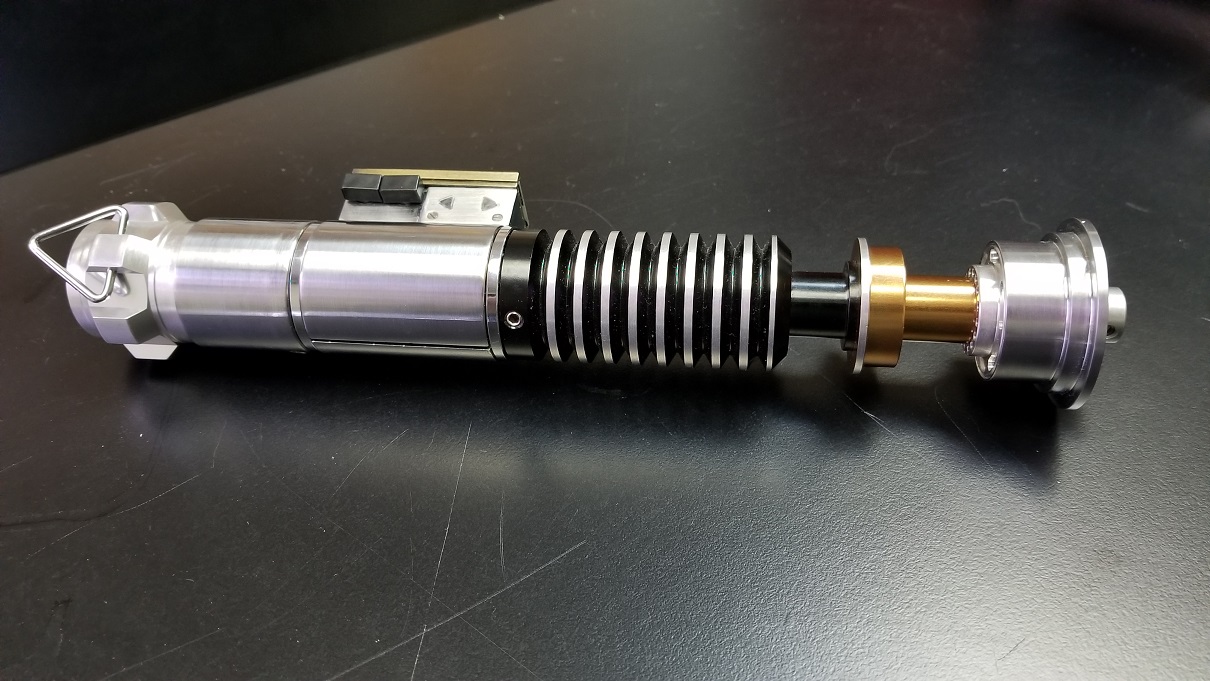
Here I go again. I bought Korbanth's kit of the LS6 Gullwing and I couldn't be happier. This Saber is awesome. It was a tough build to put together but the payoff was well worth it. This build uses the string light NeoPixel RGB and a Naigon Spark Color 2 Board along with the original electronics that came with the purchase.
Below are the package contents.
Let's get to the build.
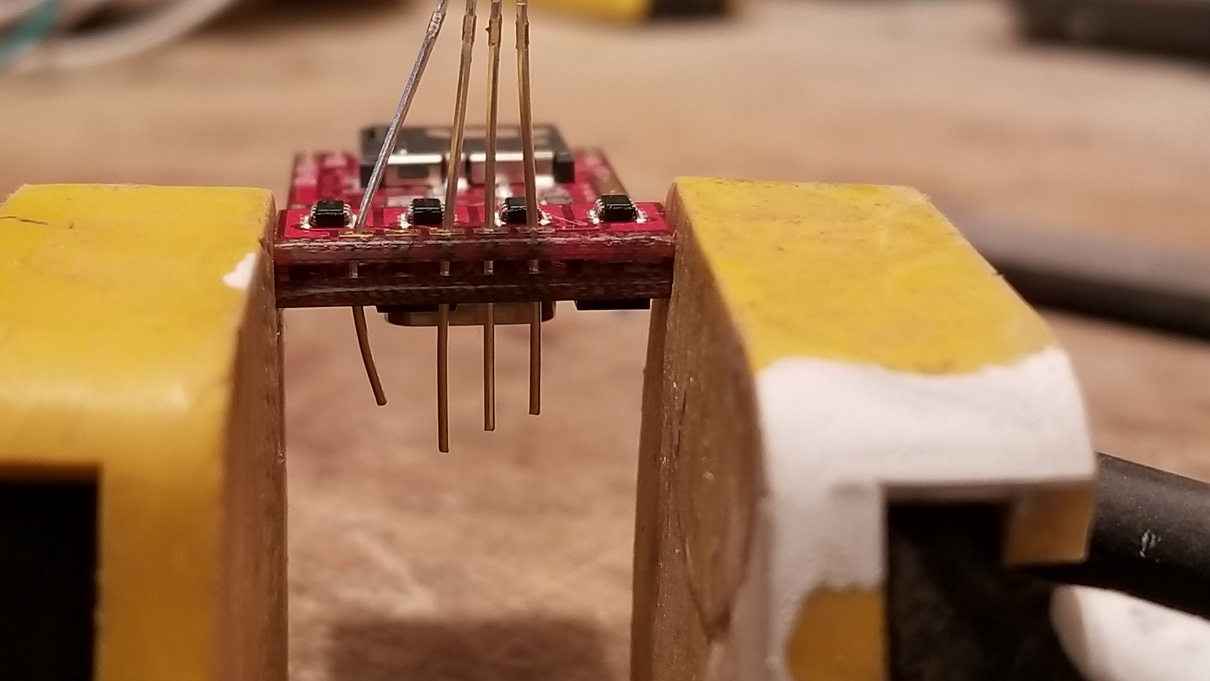
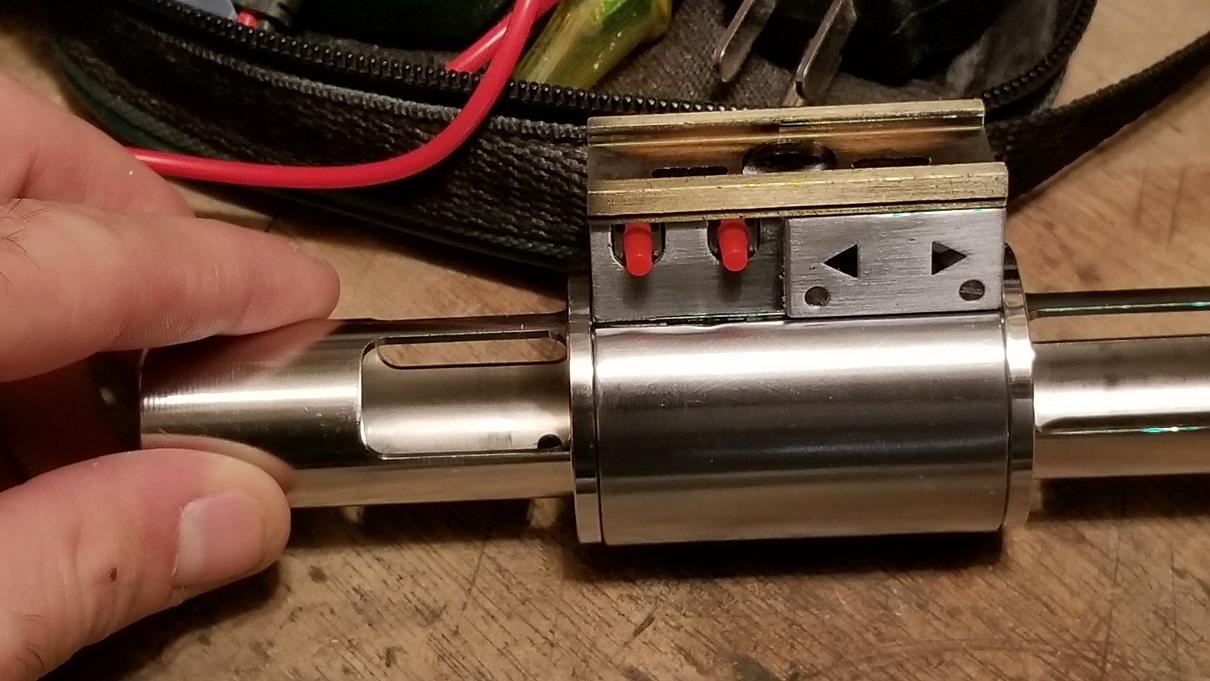
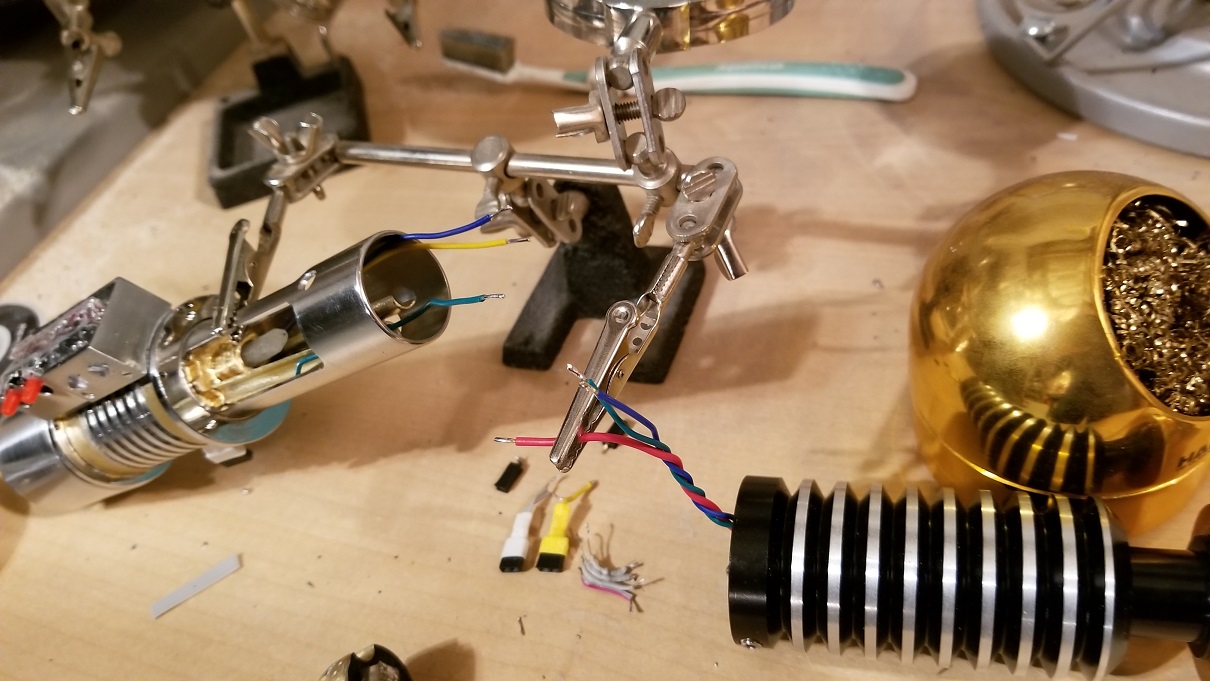
Spark Color 2 LED drivers needed to be separate and soldered in line to conserve space.
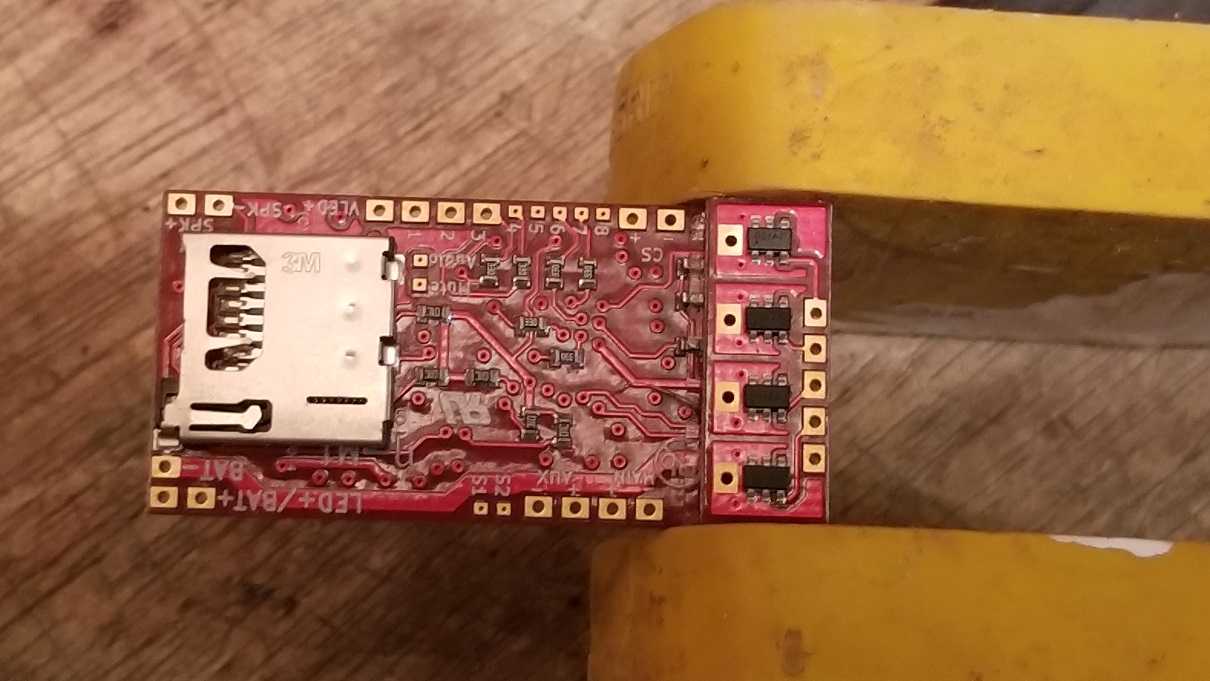
Solder these ends together.
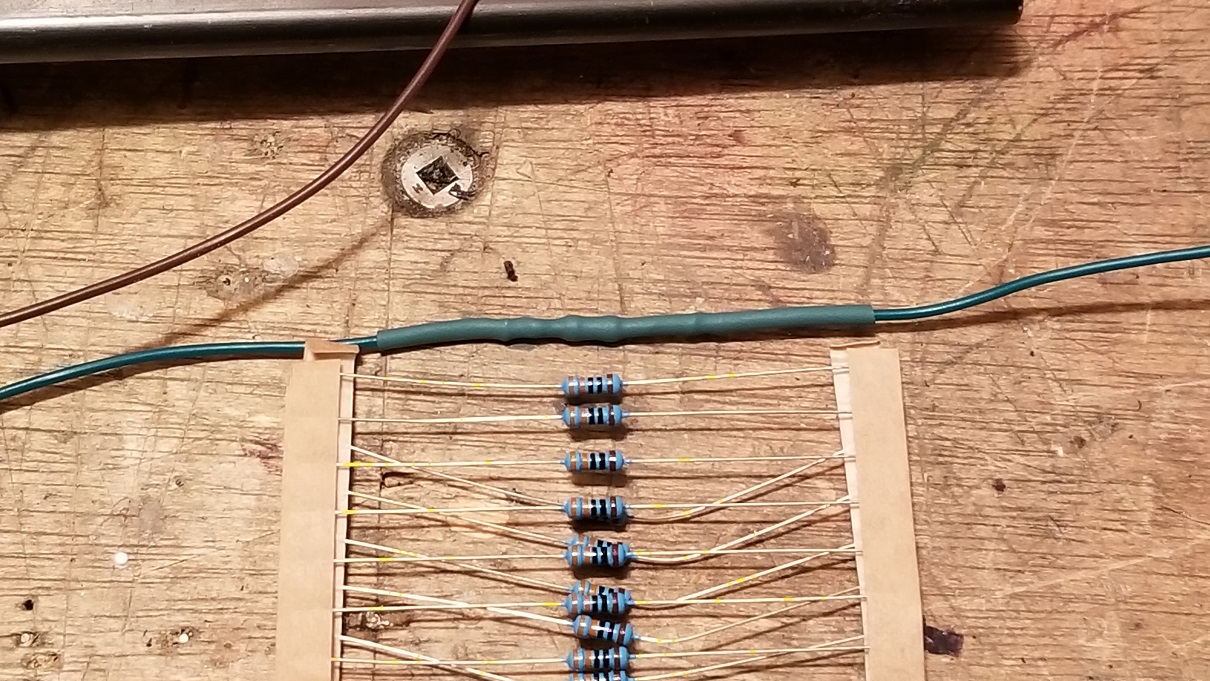
The brown is a ground.
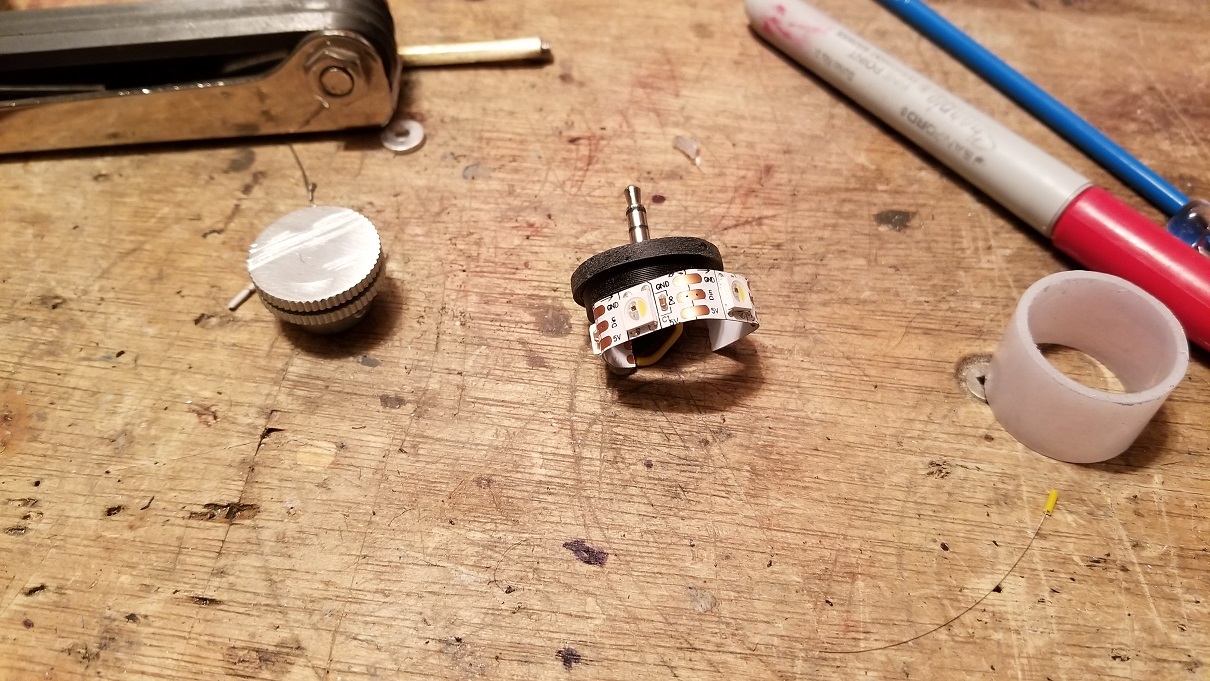
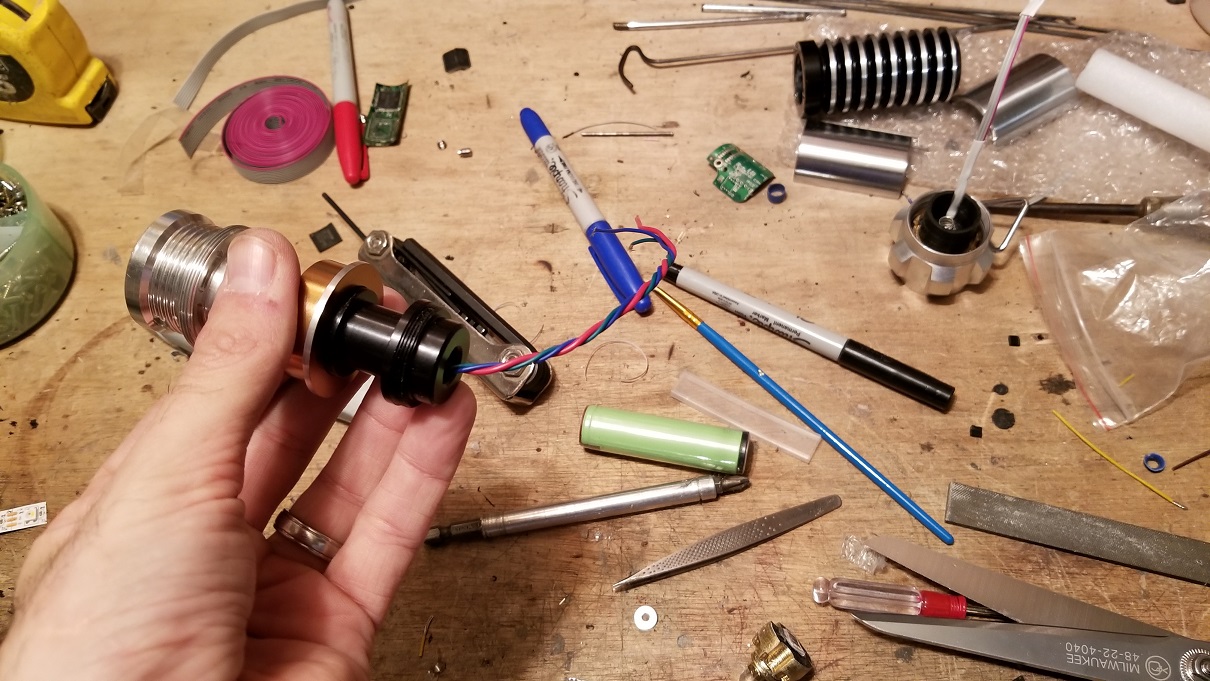
Since the NeoPixel RGB strip needs a data line to tell it which colors to switch to, I made one with the 360 Ohm resistor in line to prevent it from damage.
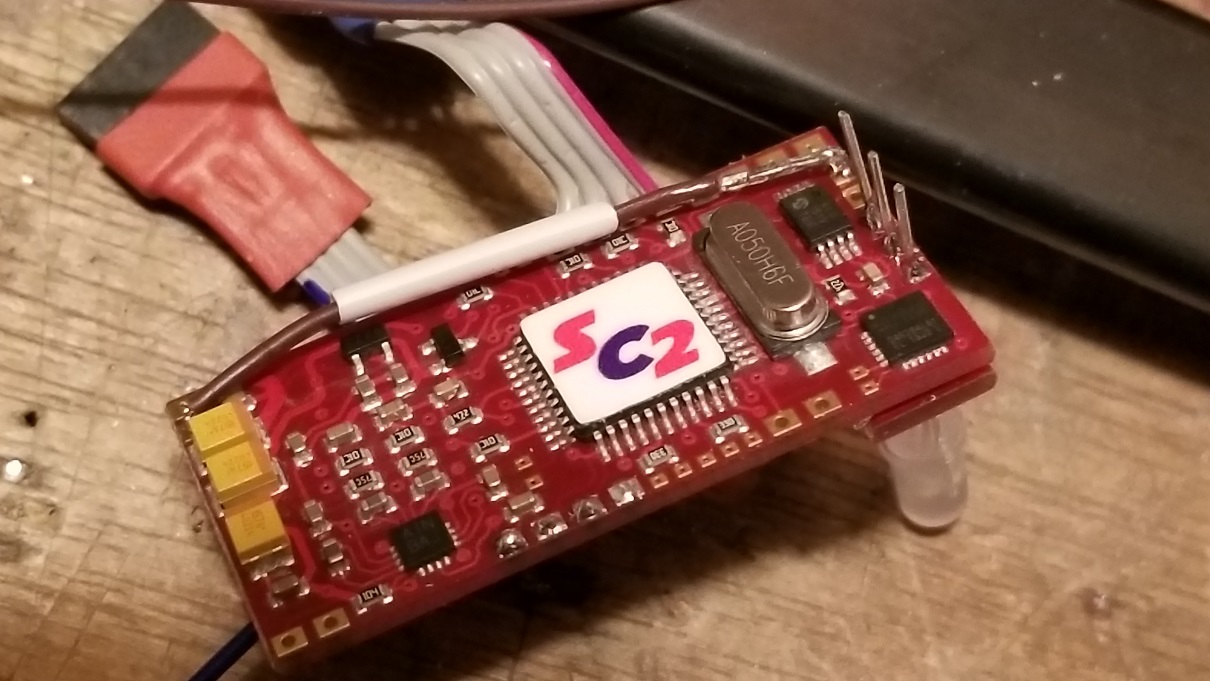
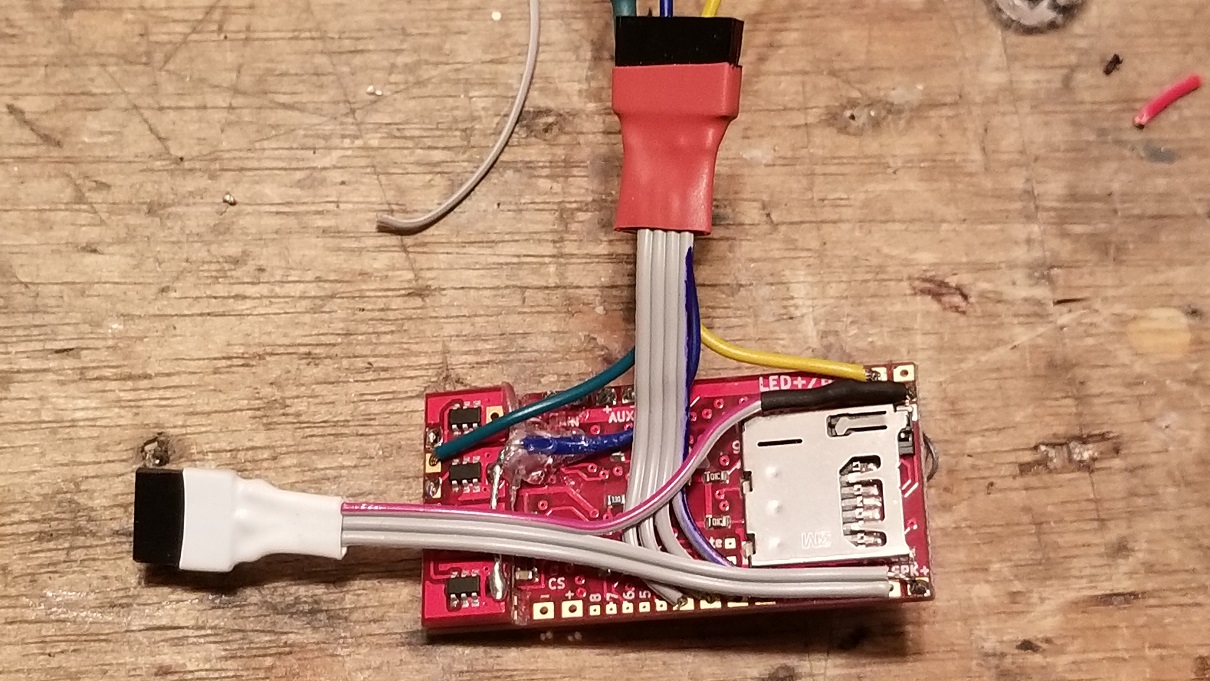
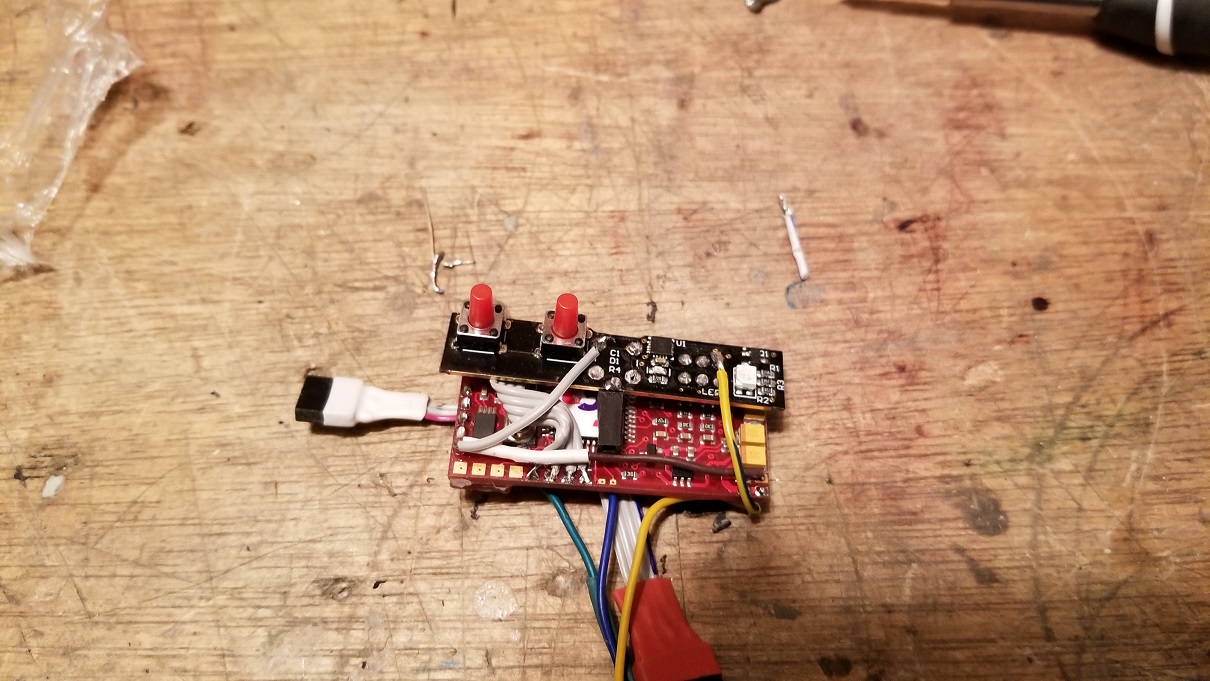
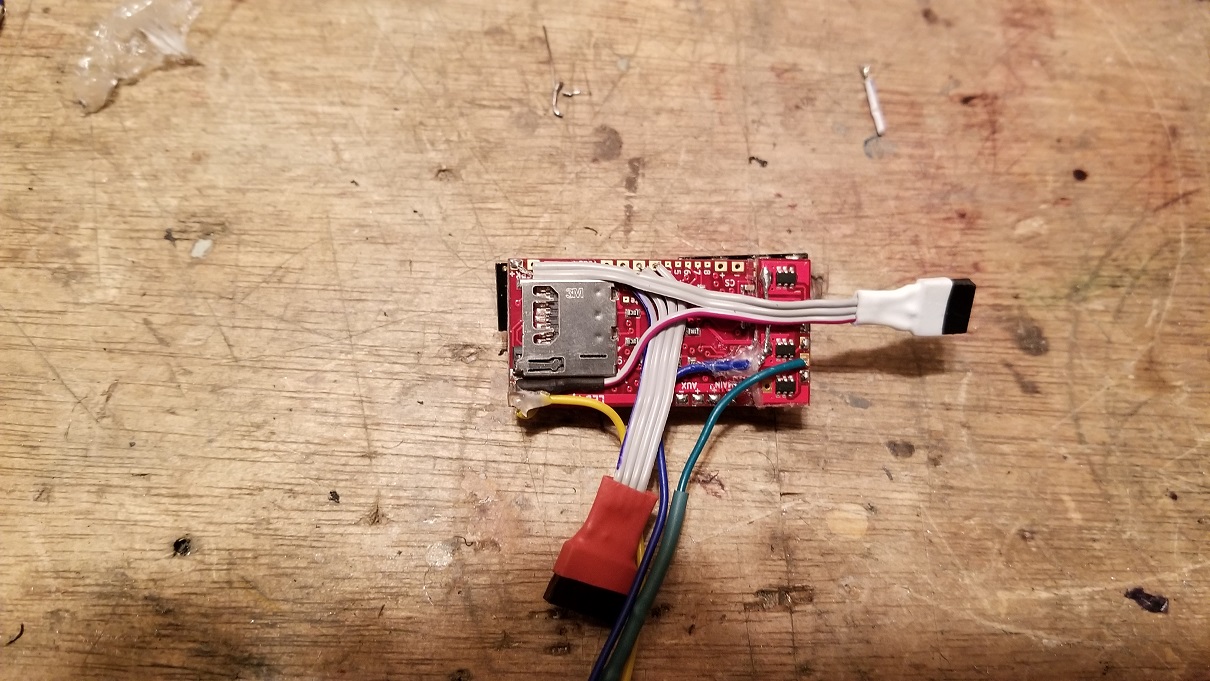
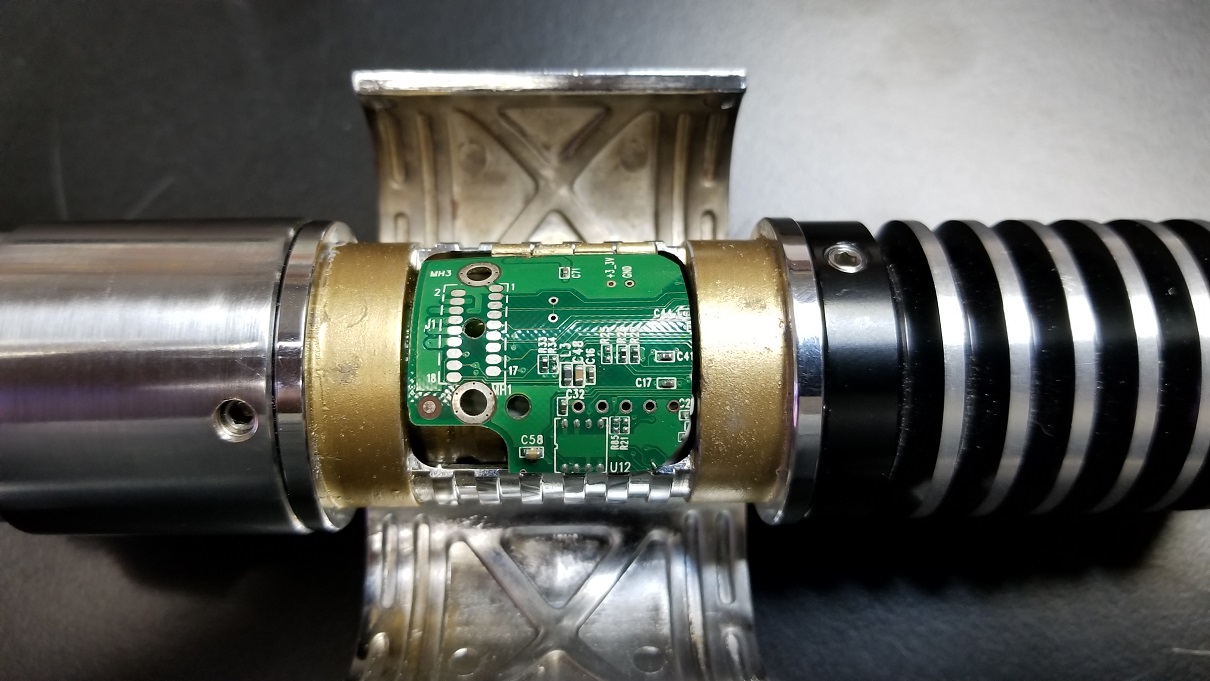
The board is soldered up with plugs.
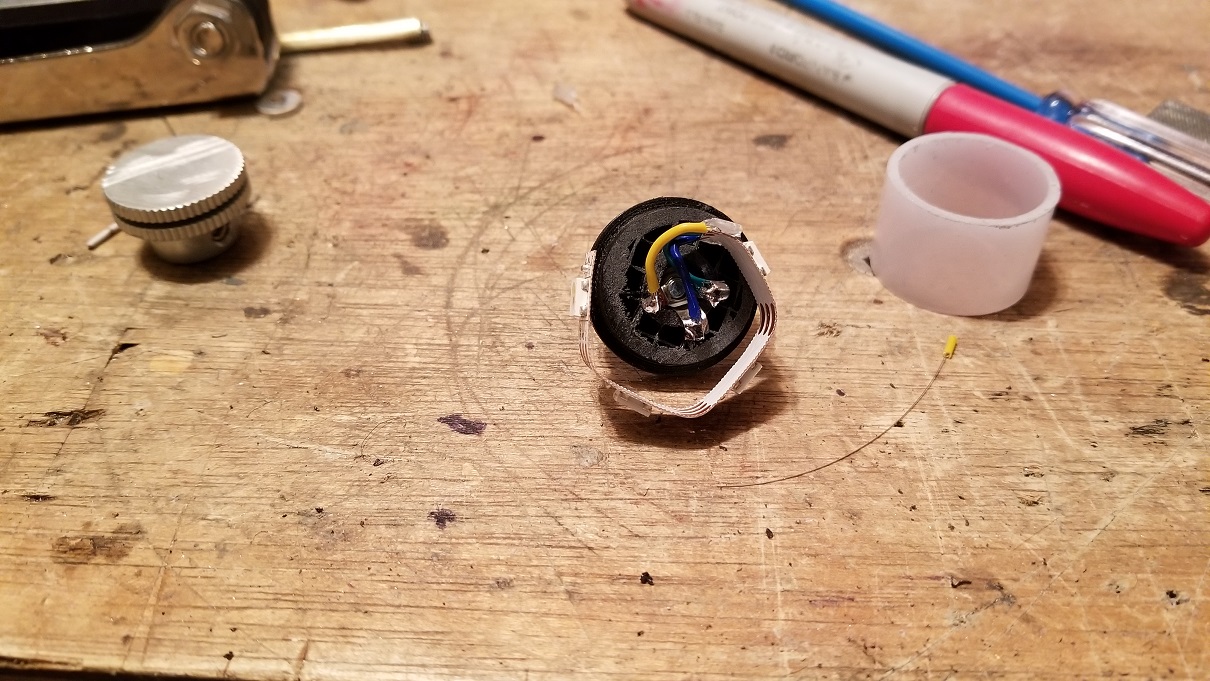
Below, I attached the momentary switch circuit board that came with the gullwing saber.
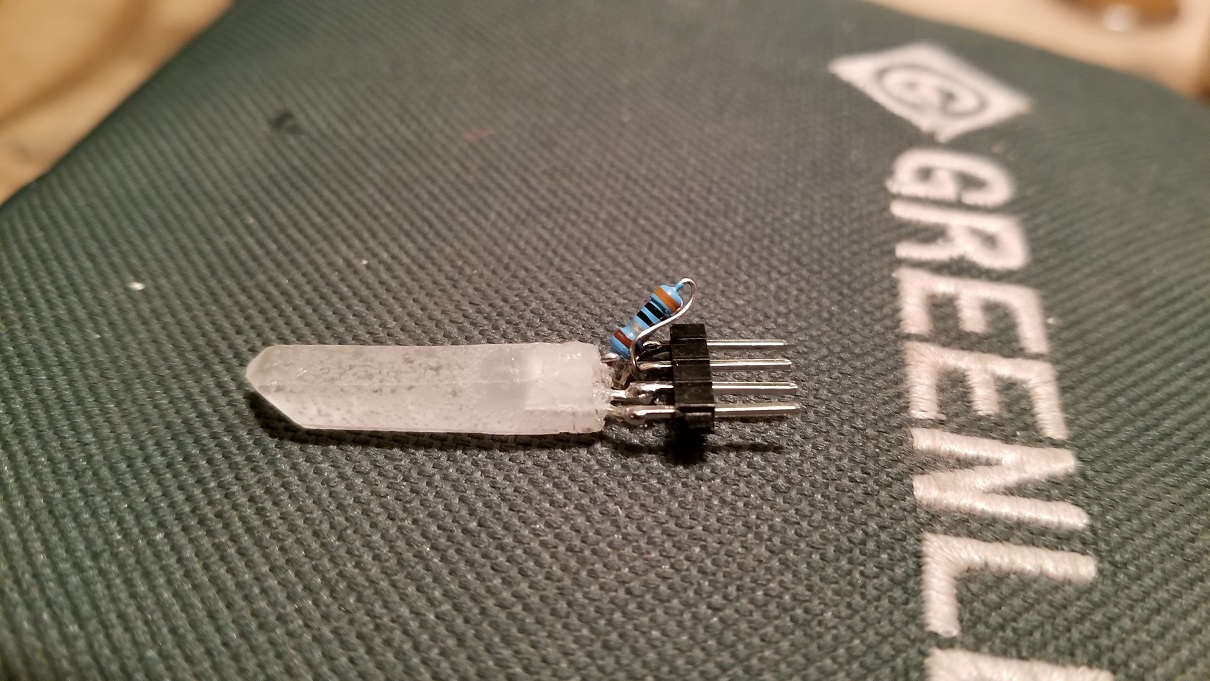
Here is an accent RGB LED that lights up the crystal chamber. I placed a resistor on the red leg.
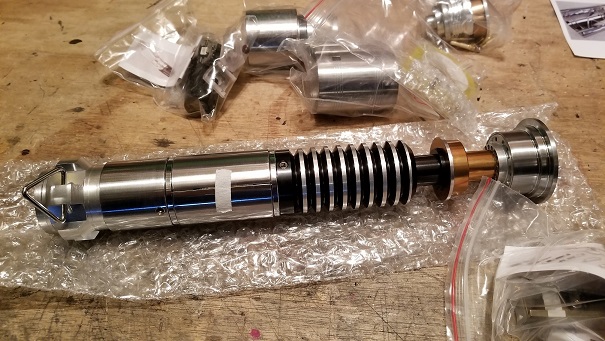
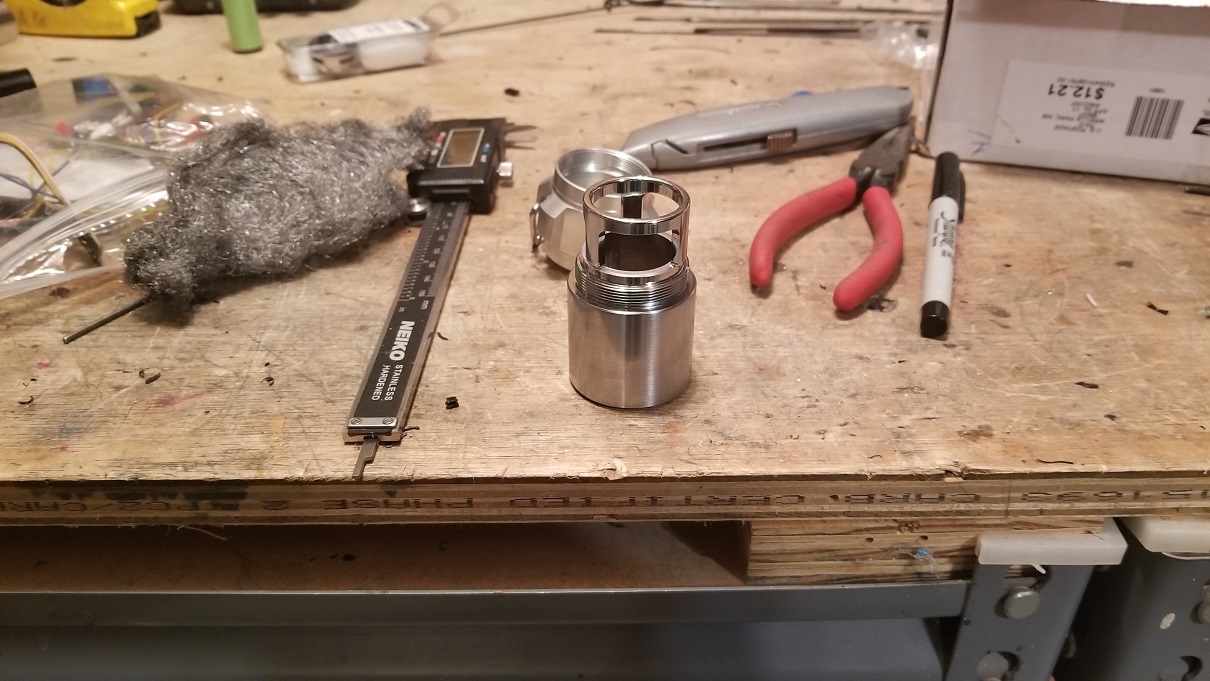
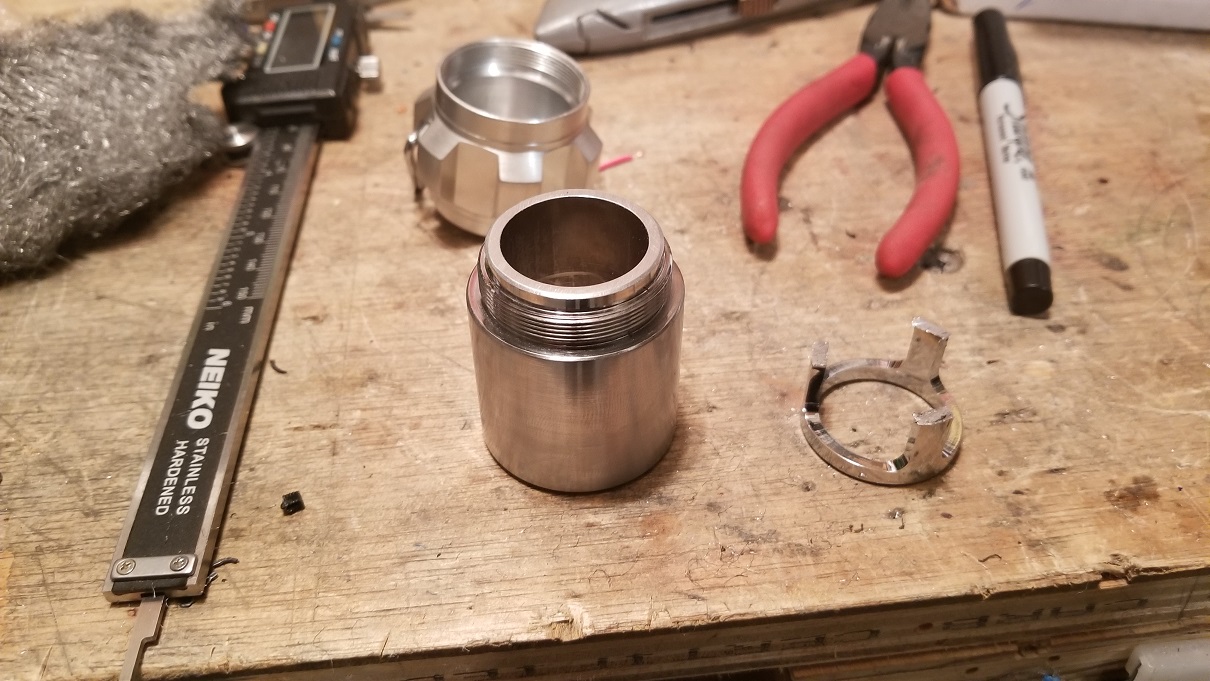
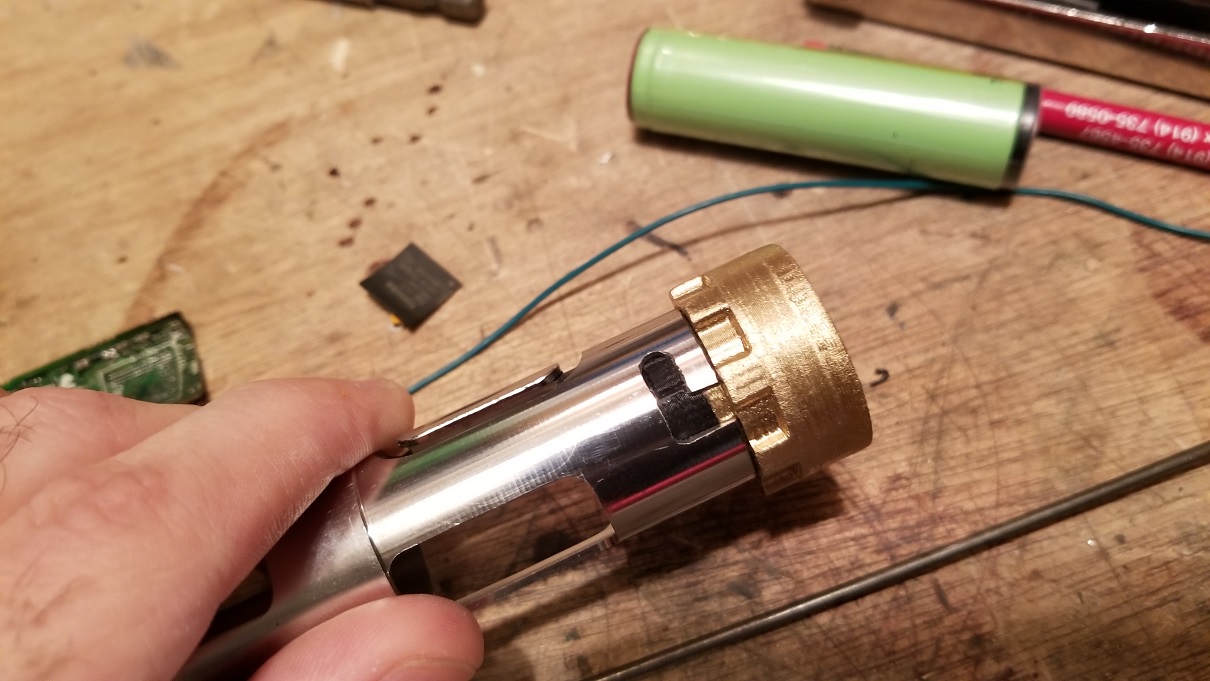
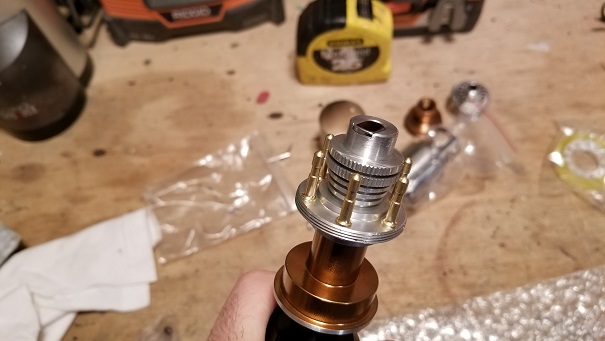
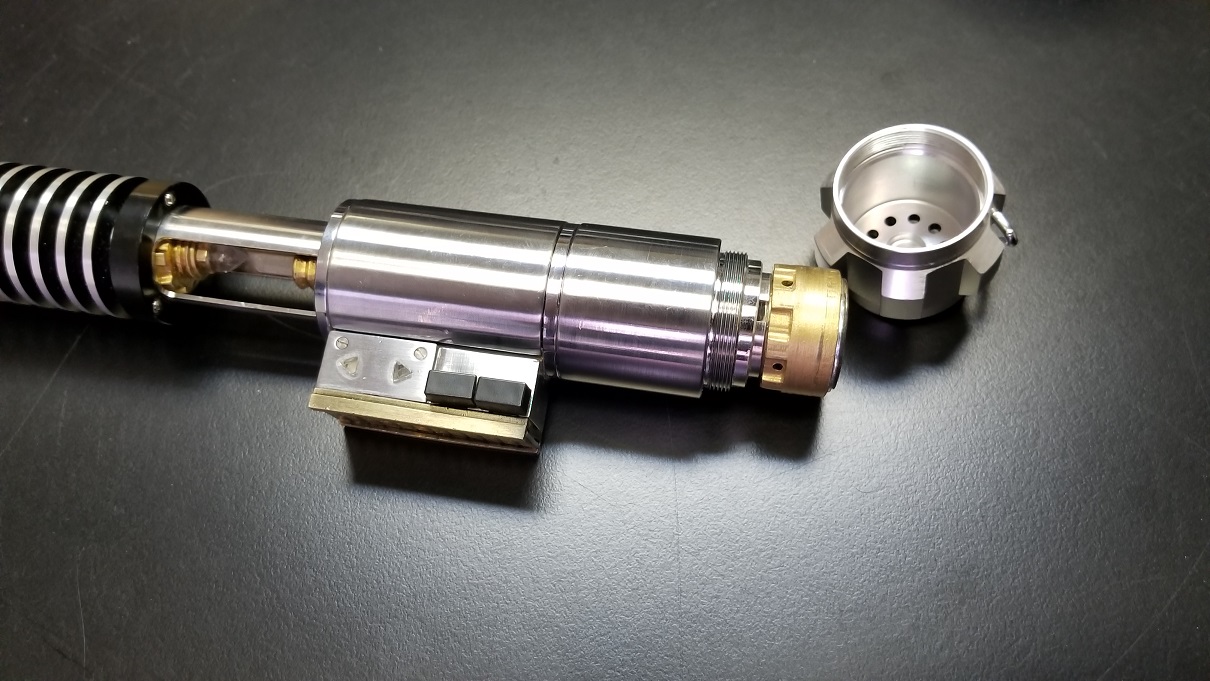
Here is the base of the gullwing saber.
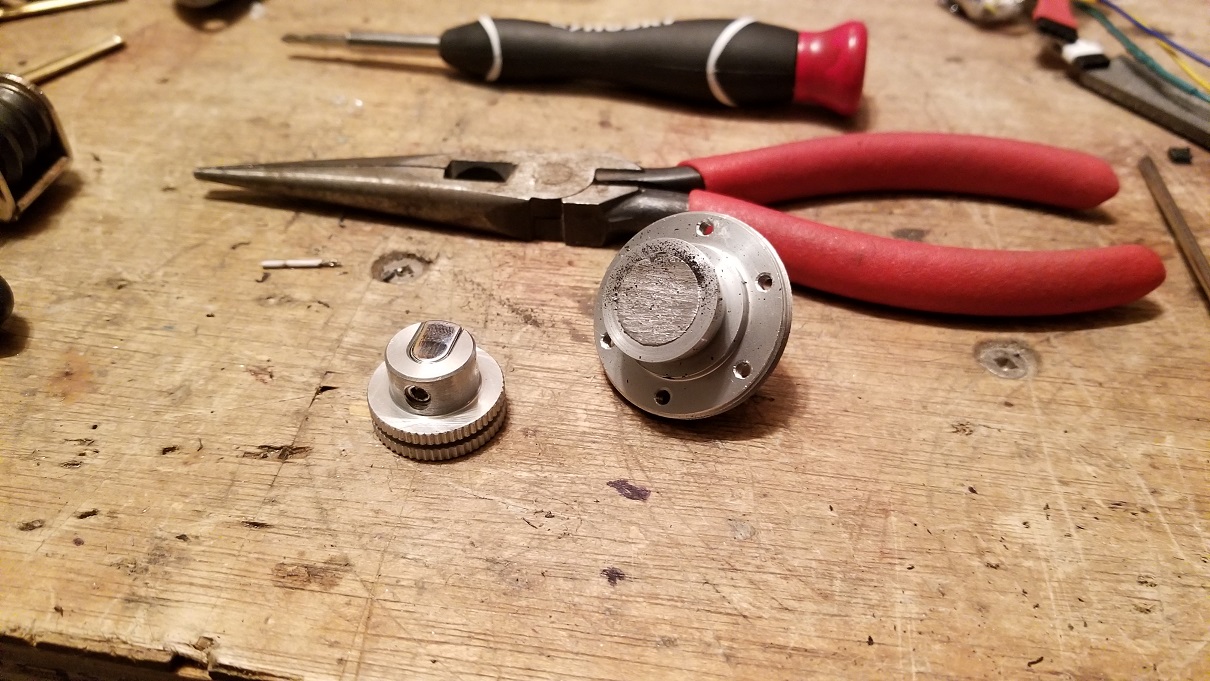
It's too long to fit in a 27mm Speaker so I had to make adjustments.
The central section was too long as well.
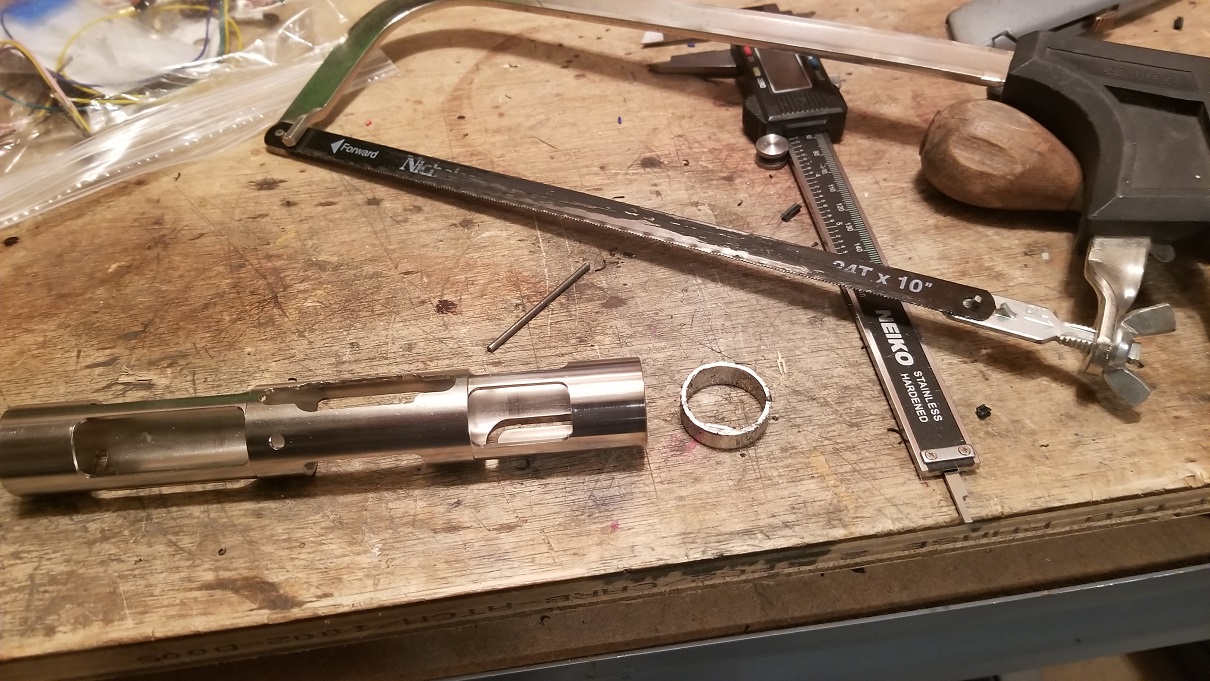
Adjusted.
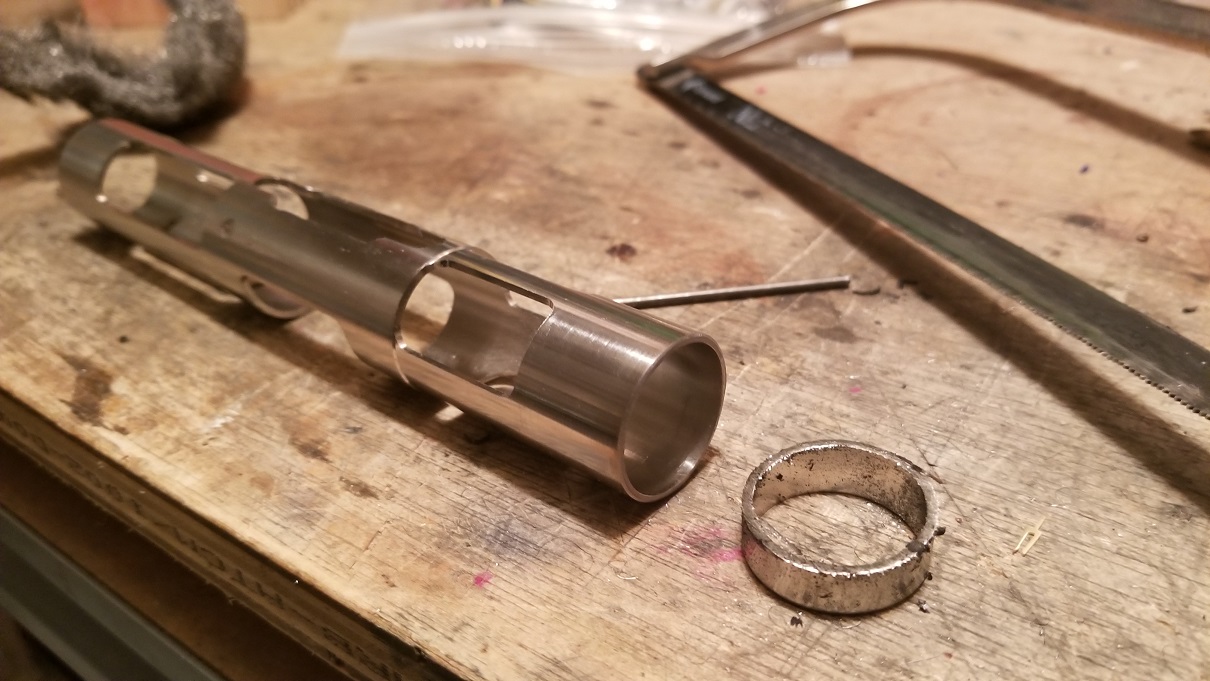
I designed a speaker holder to work with the base to slide and lock into place.
These are my 3D objects I used to complete the internal design.
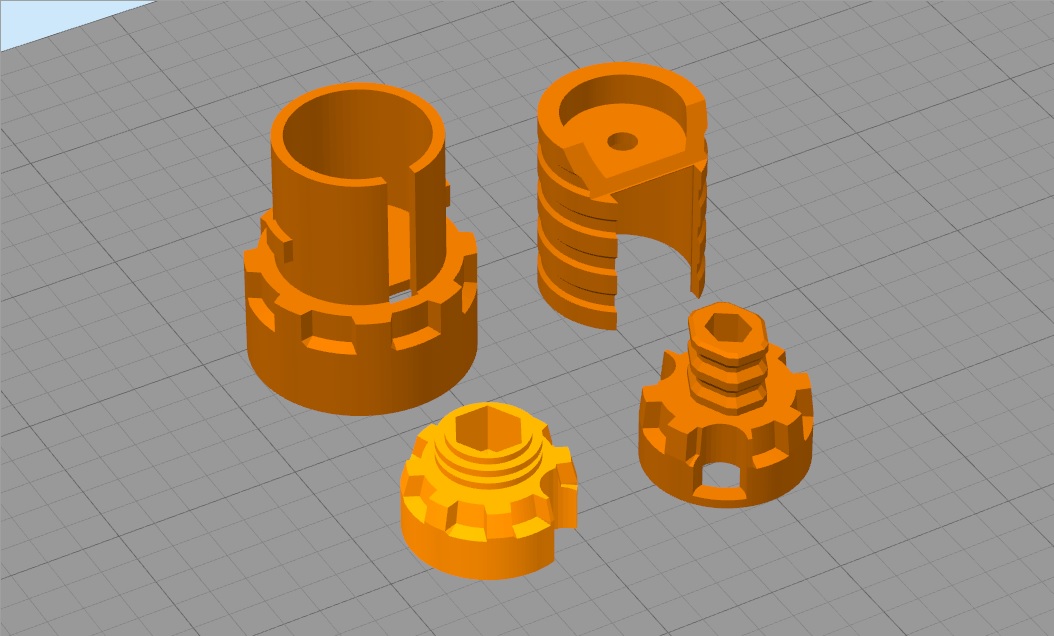
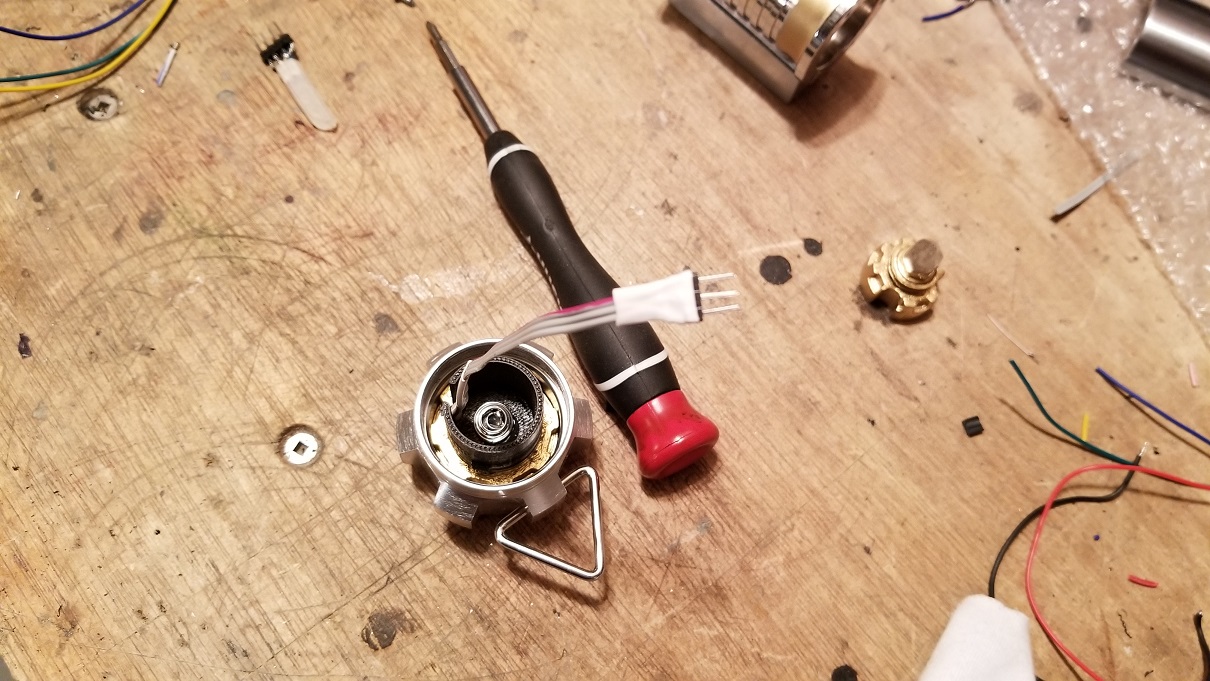
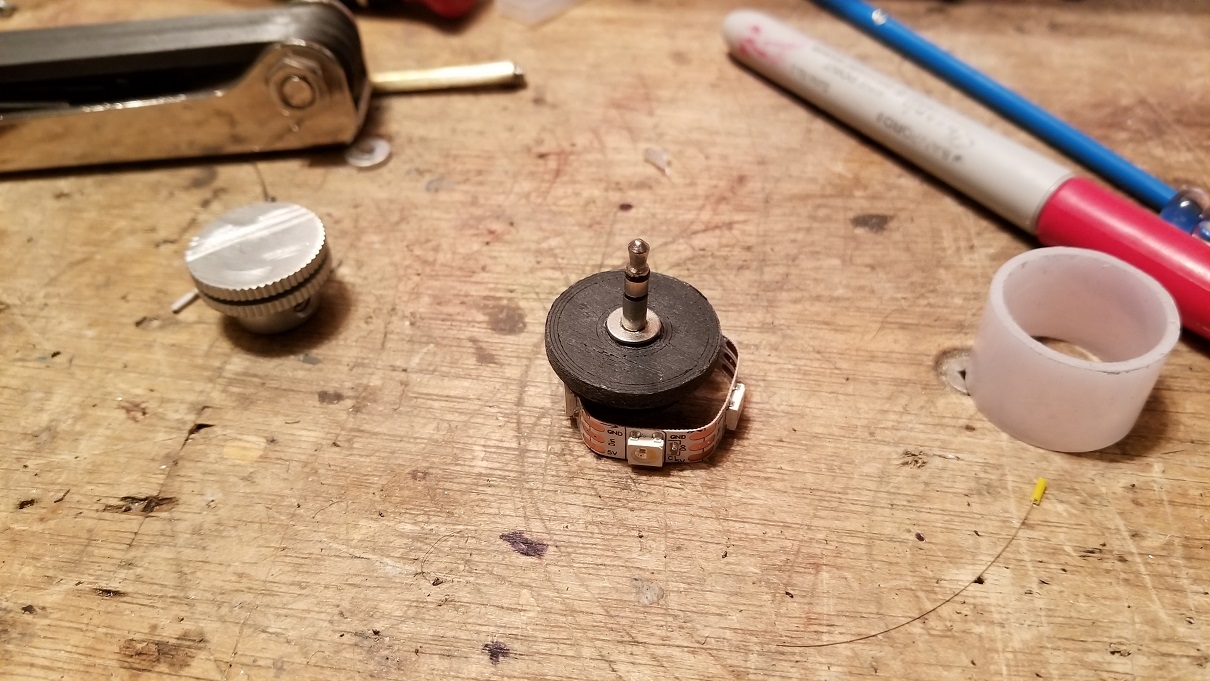
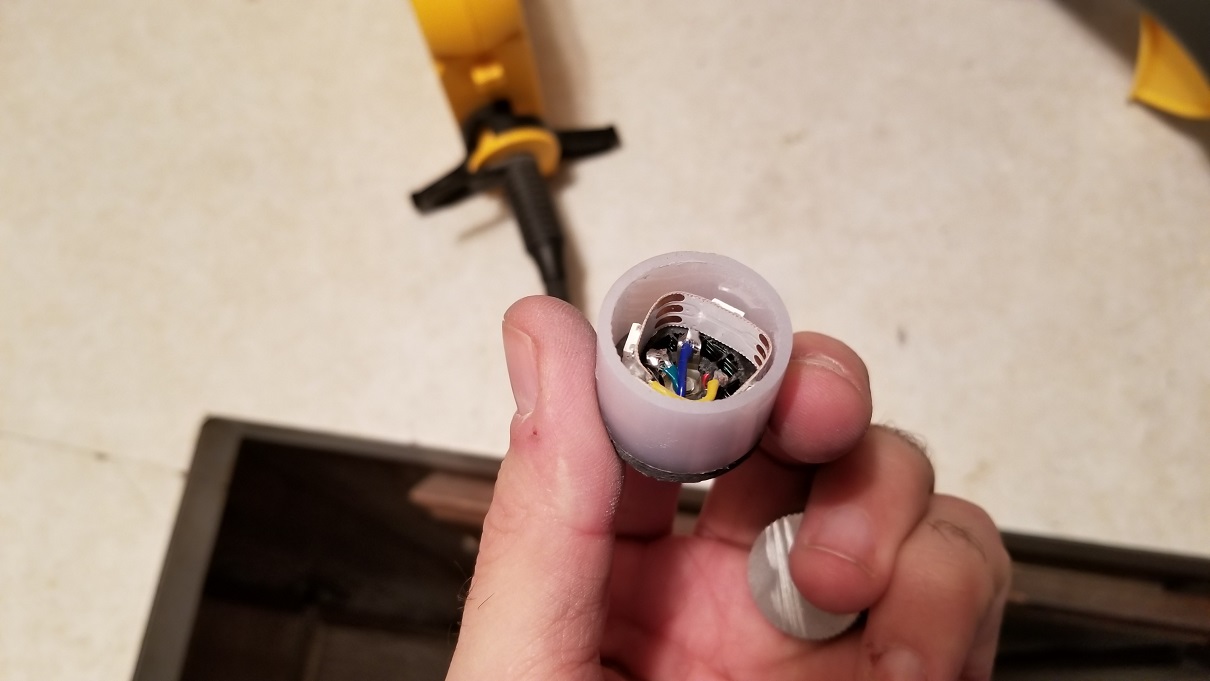
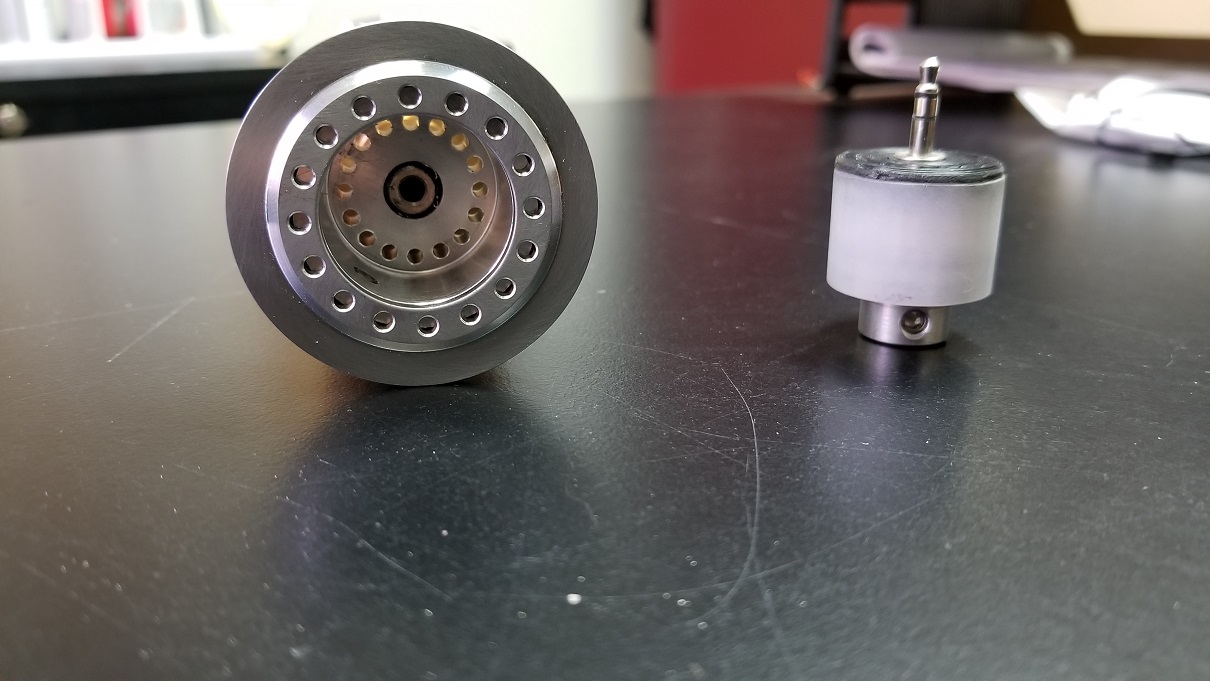
Below is the 27mm Speaker housing.

Fits like a glove.
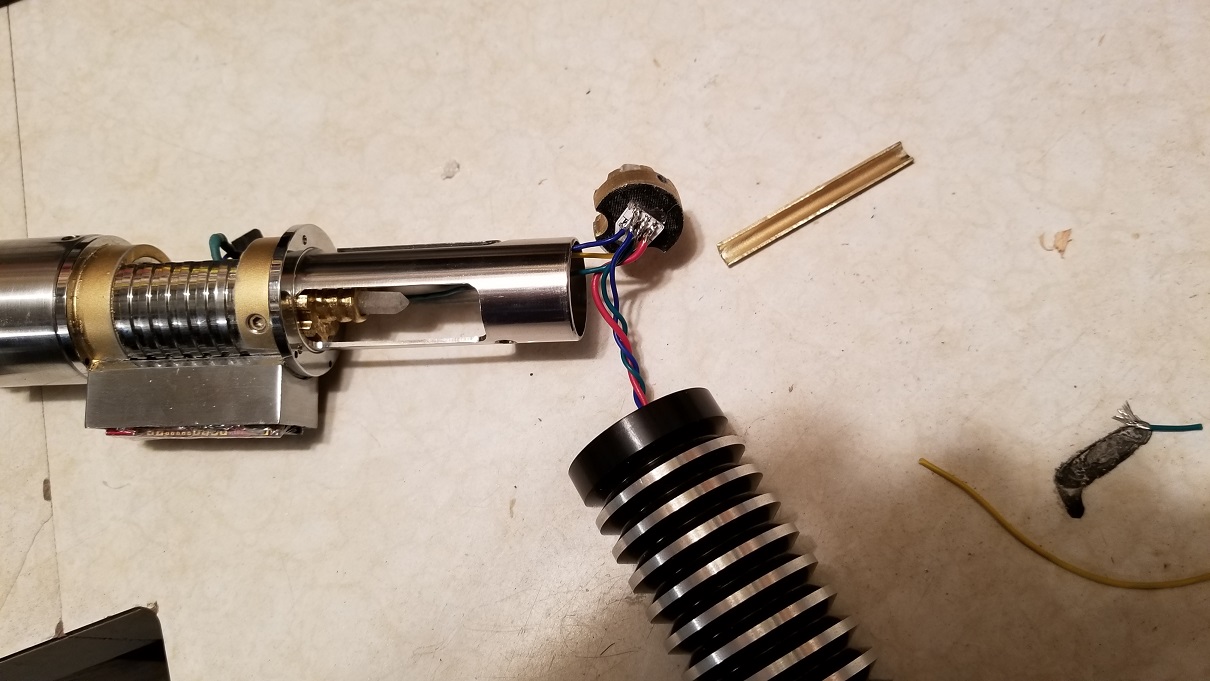
Wired up with a connection.
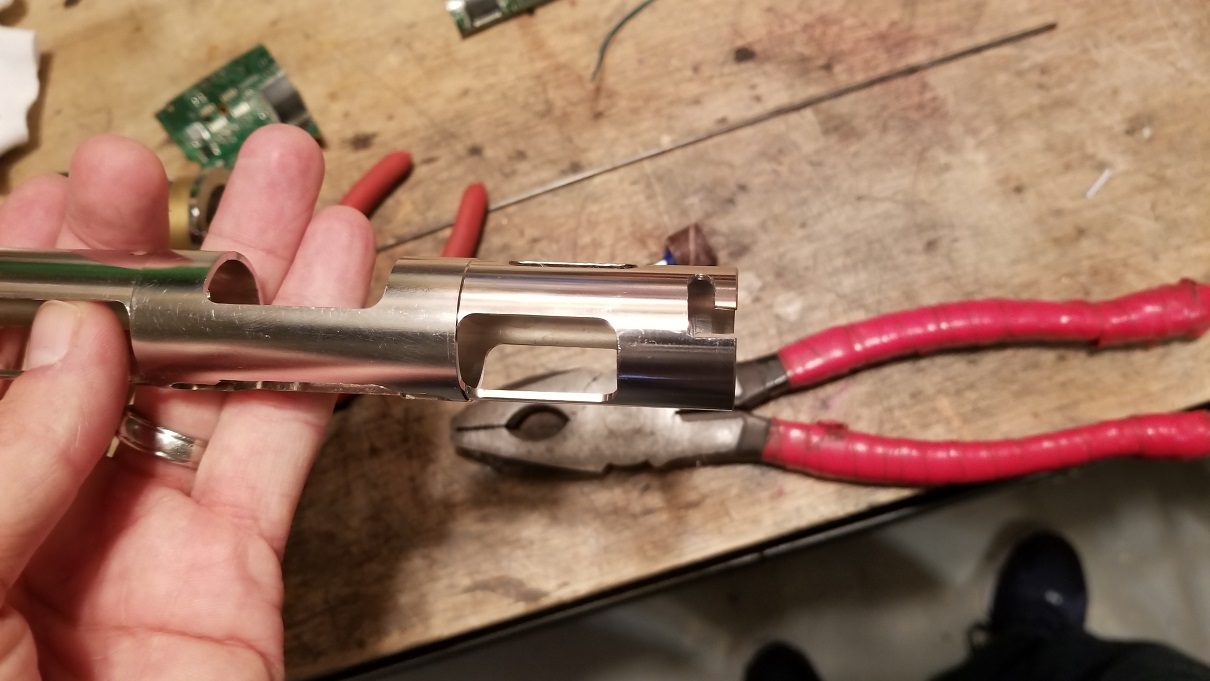
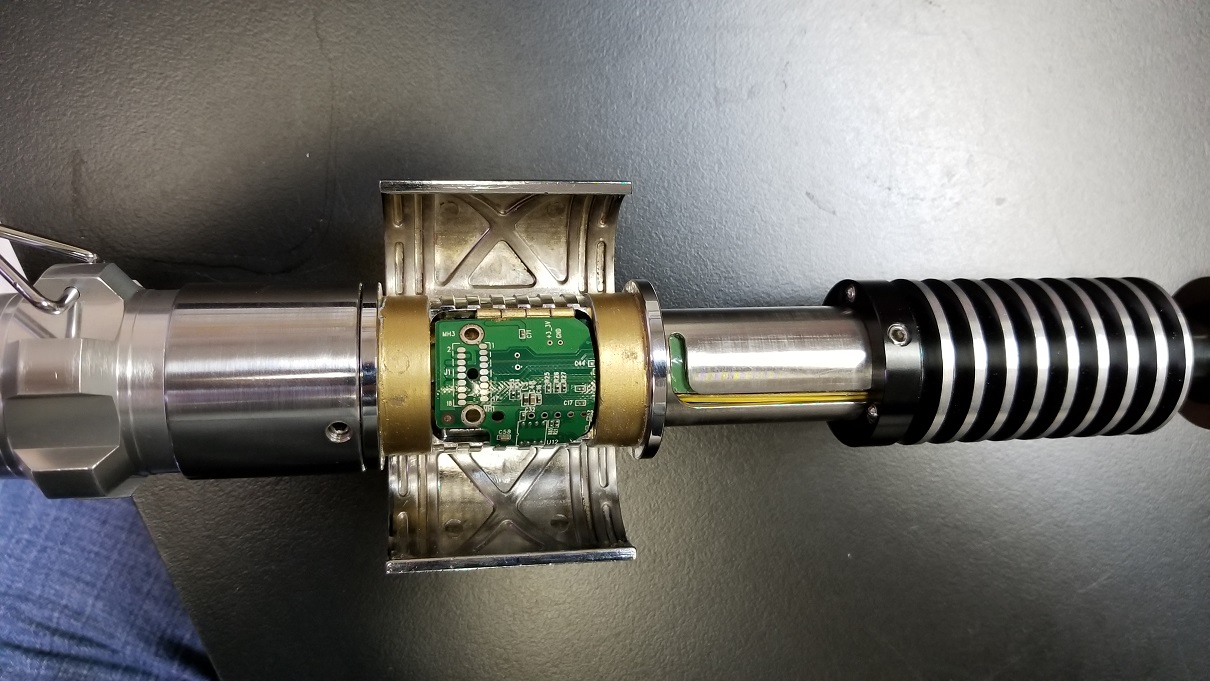
I need to hollow the center part to fit all the electronics.
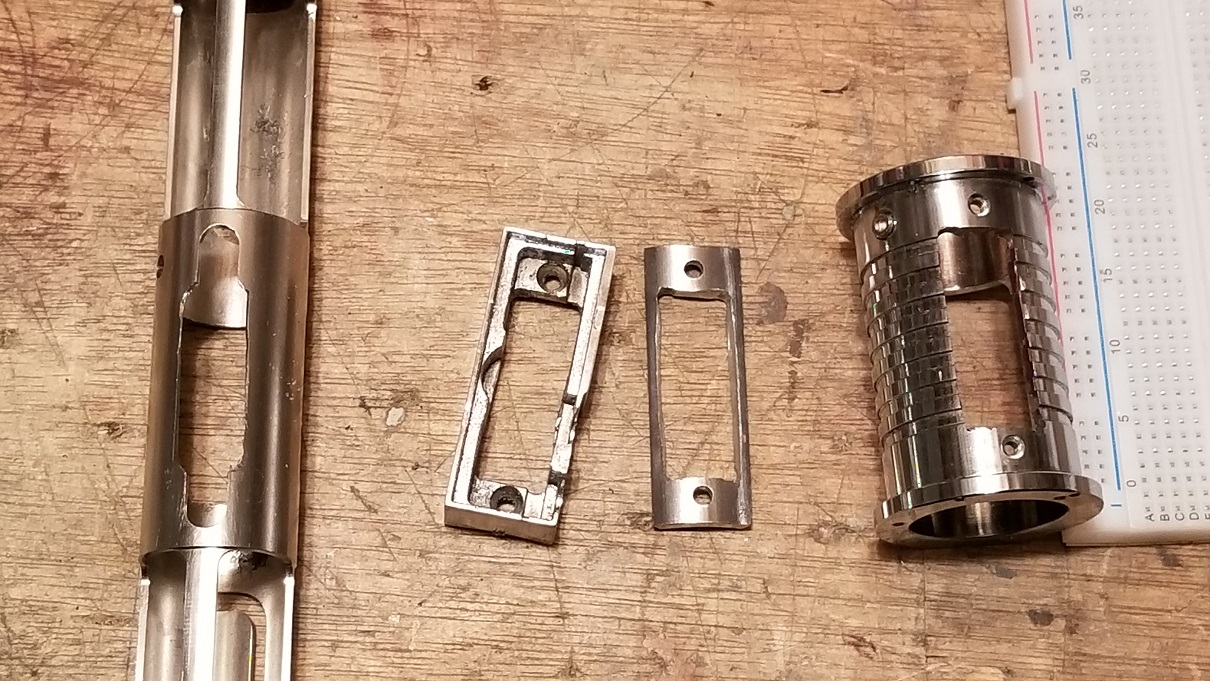
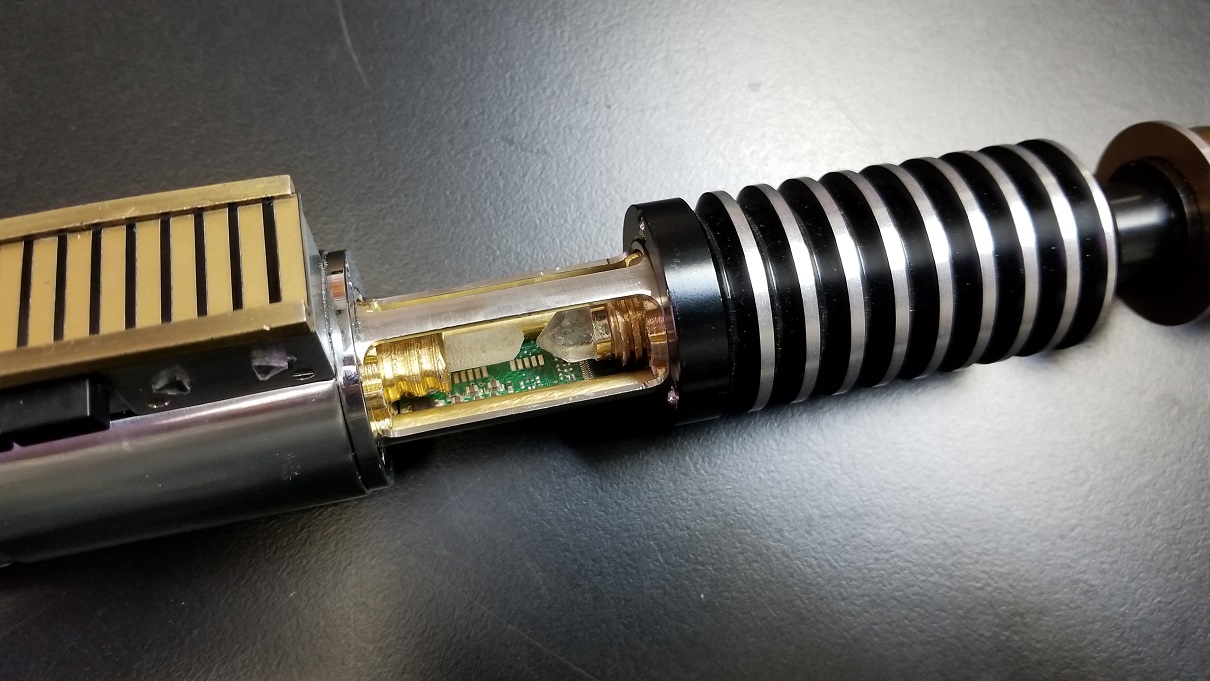
All electronics fit in the control box alone.
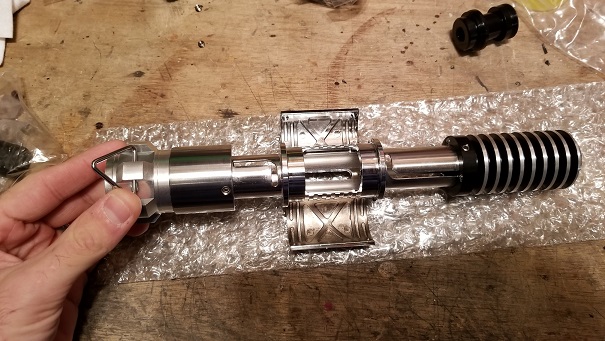
Here is the original tip of the saber. It looks great.
Whoops!
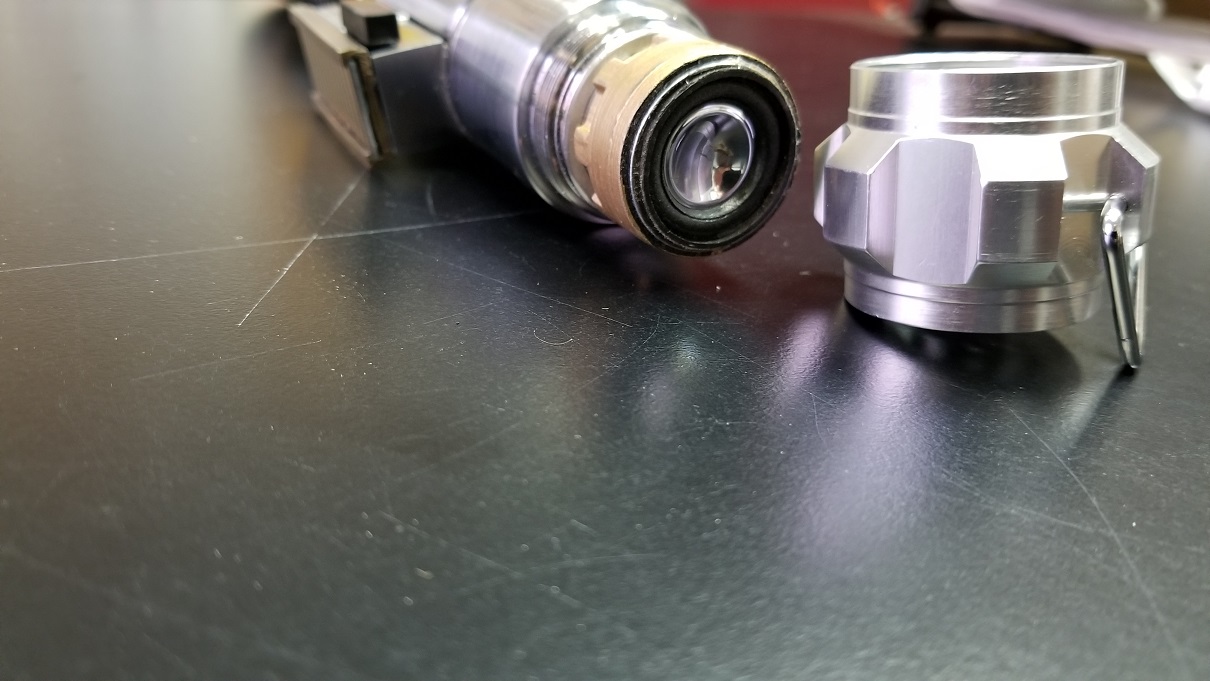
This is a lower cap I designed to make a blade plug to go into the saber when not using the long blade.
Wire up some LED's.
Glue it together.

Fits in the female end of the socket.
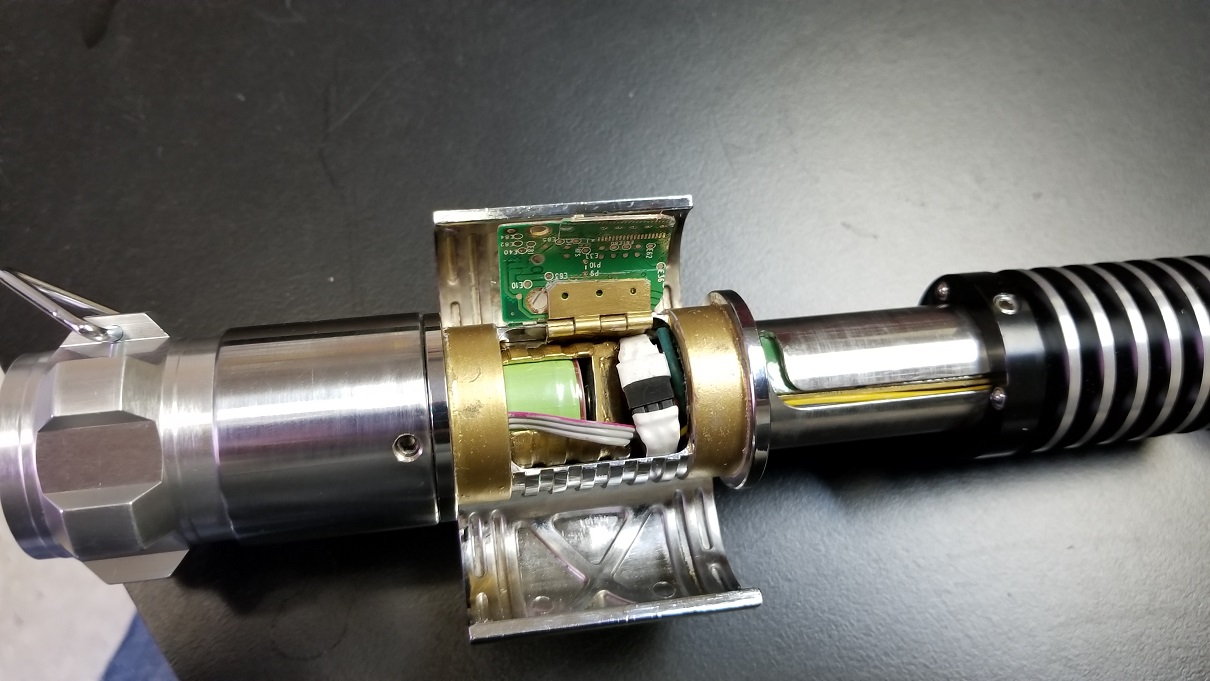
All wired up.
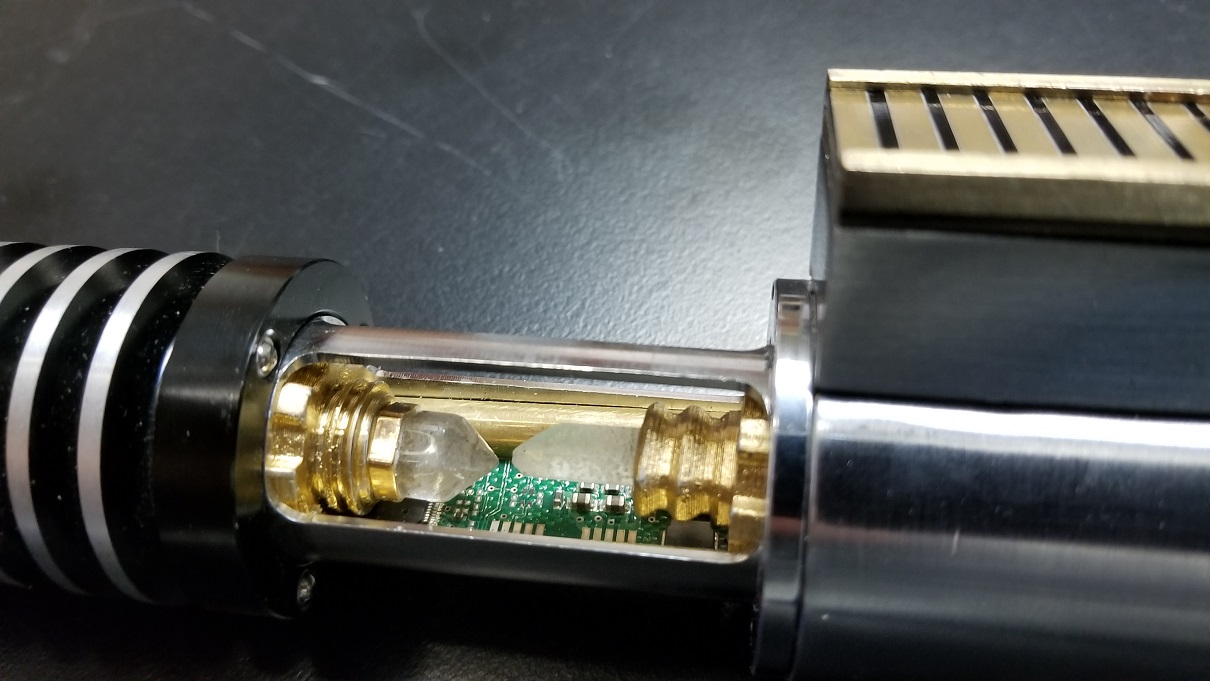
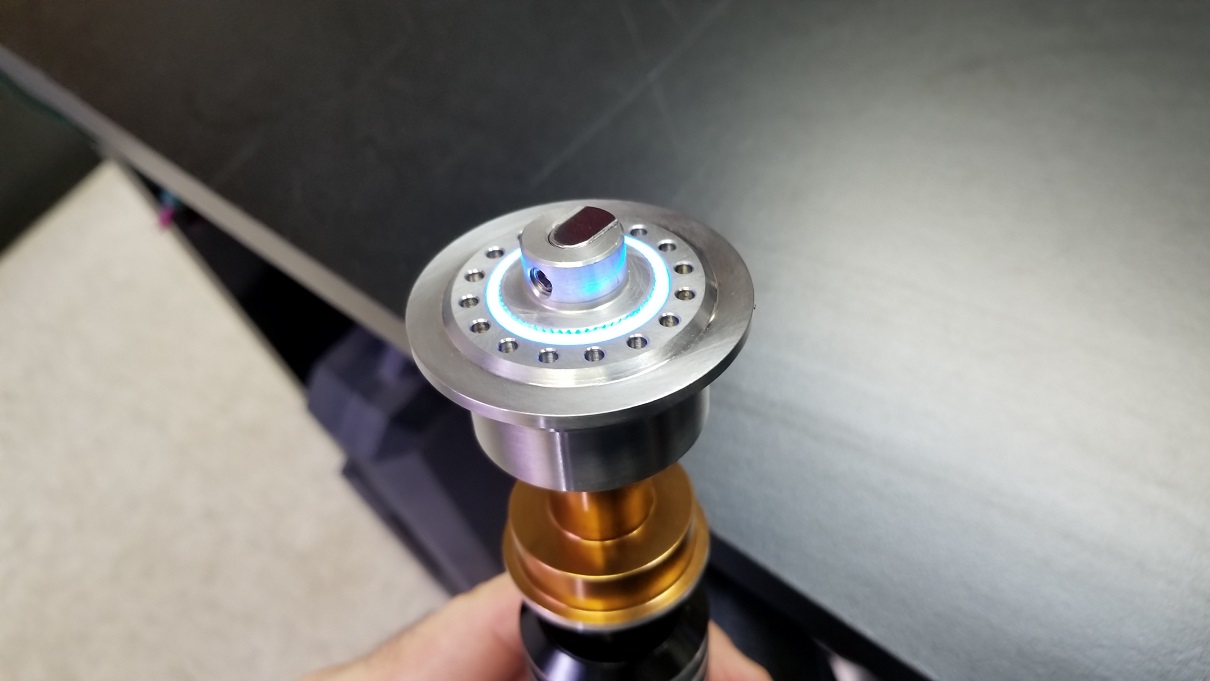
Wire in an accent LED to light up the upper crystal.
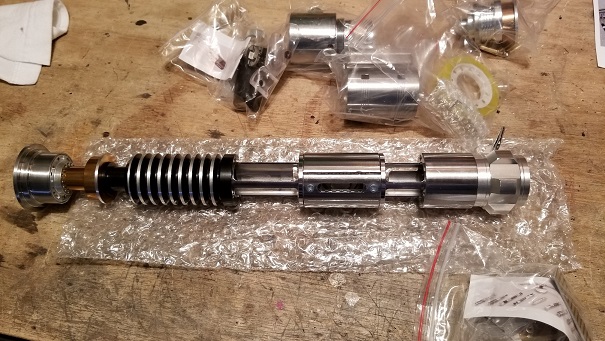
Assemble it back together.
Look from the front with a blade plug.

Blade plug out.
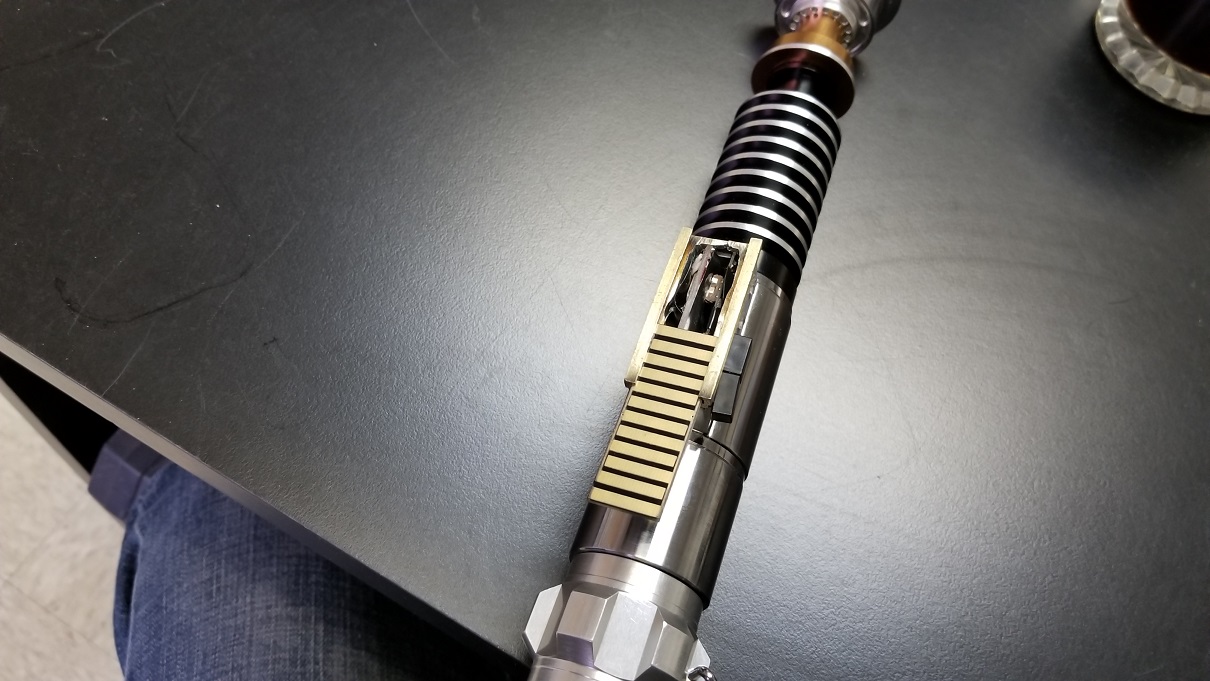
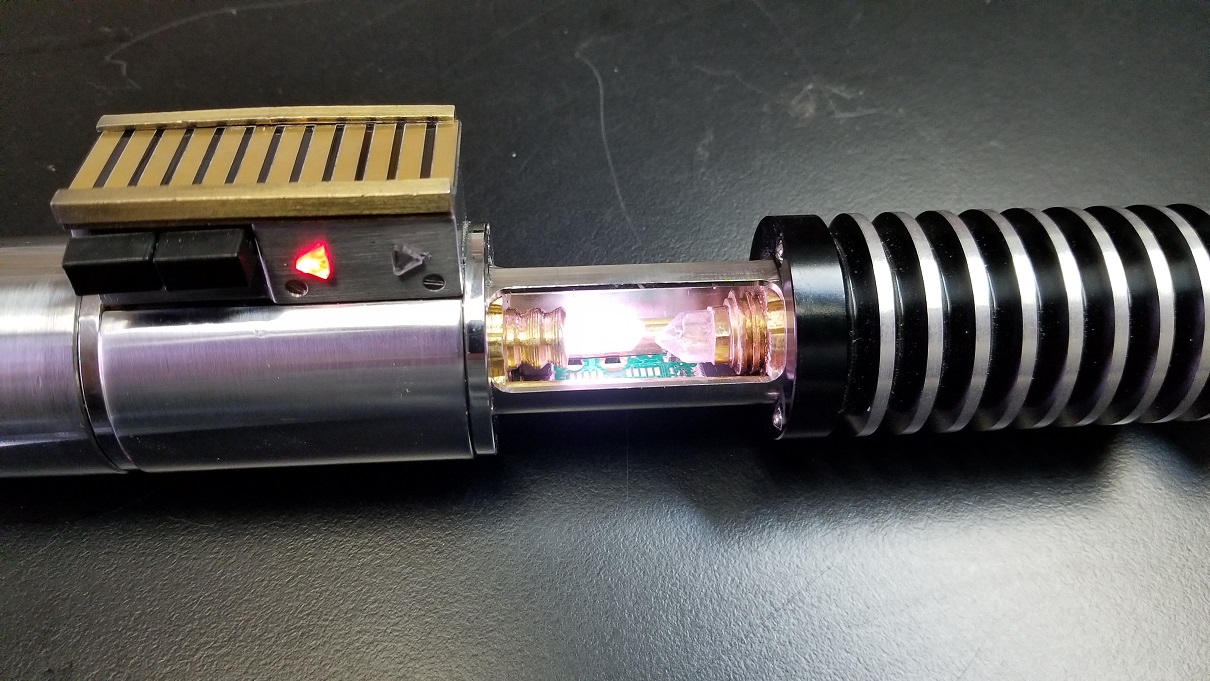
Control box open with on/off switch.
Crystal Chamber not lit.
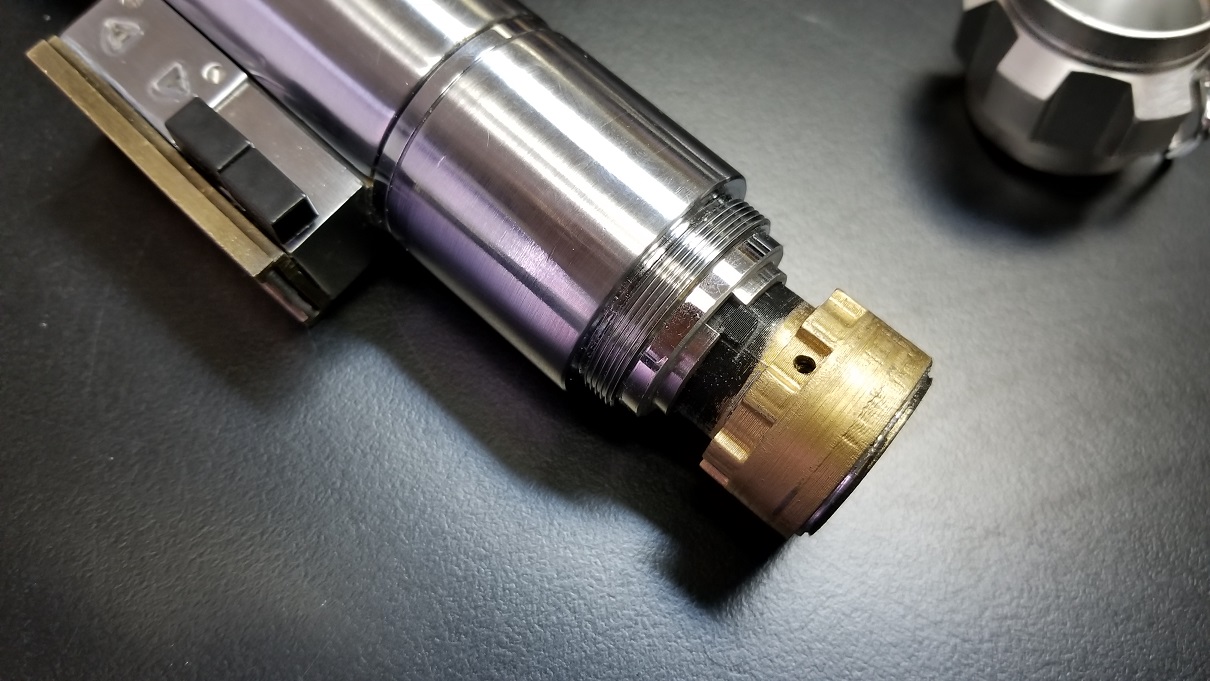
Back battery compartment.
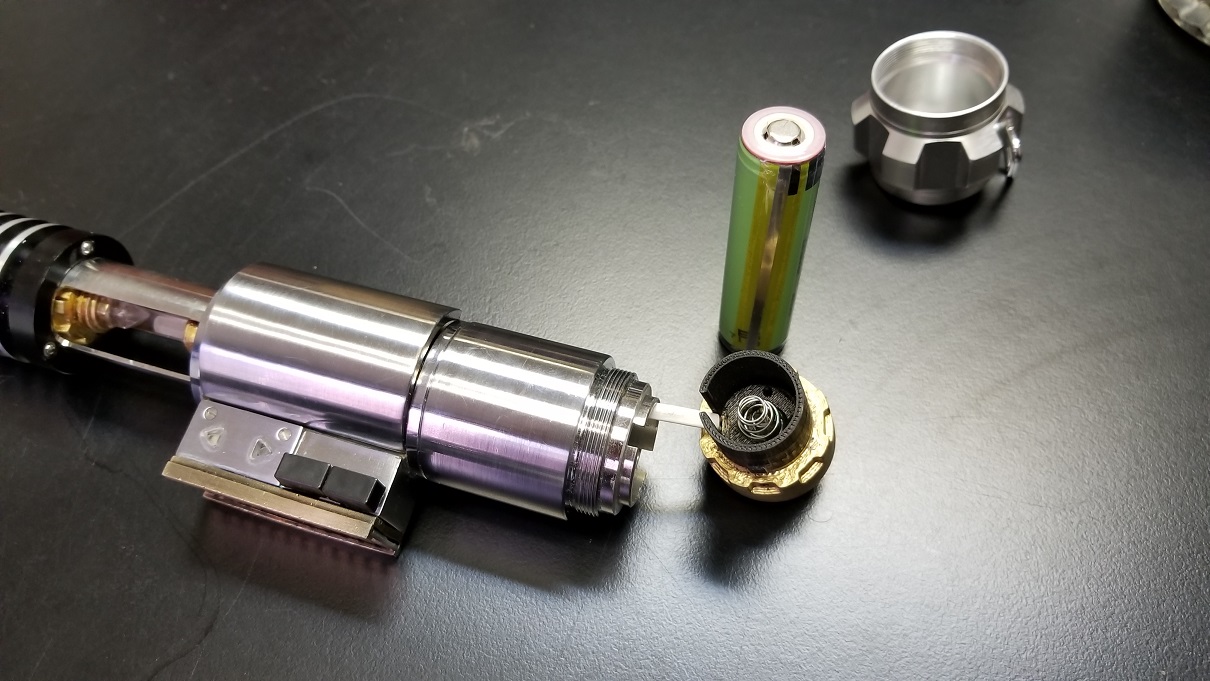
Open battery compartment.
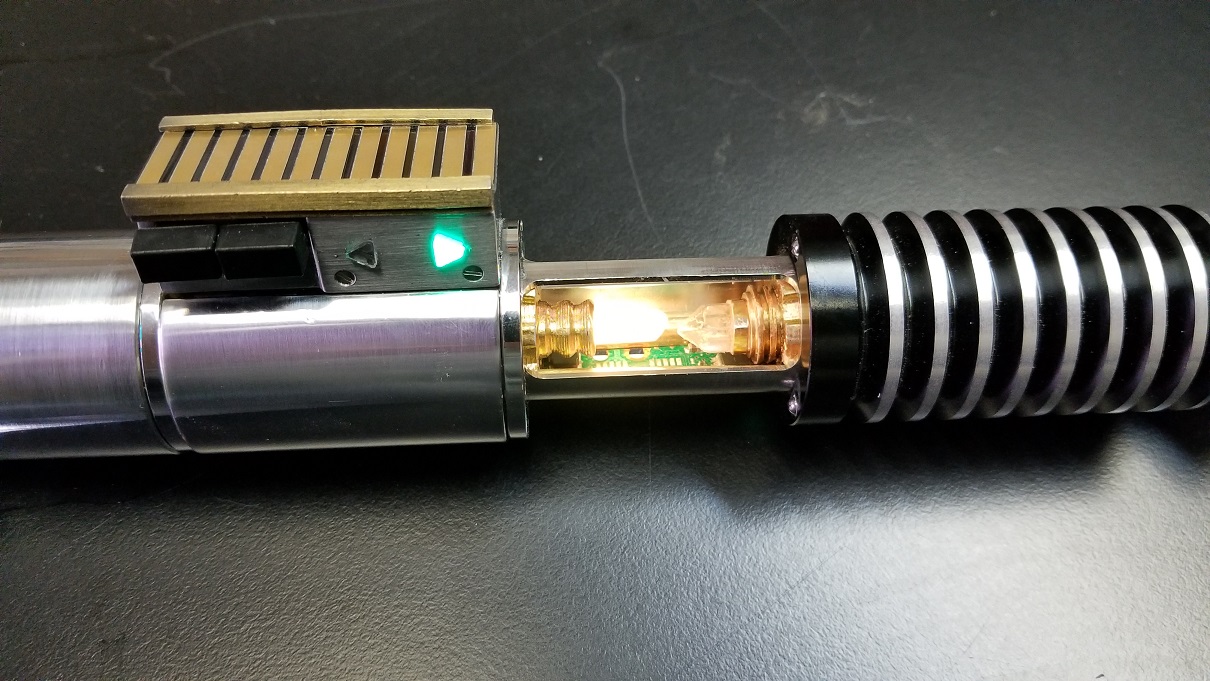
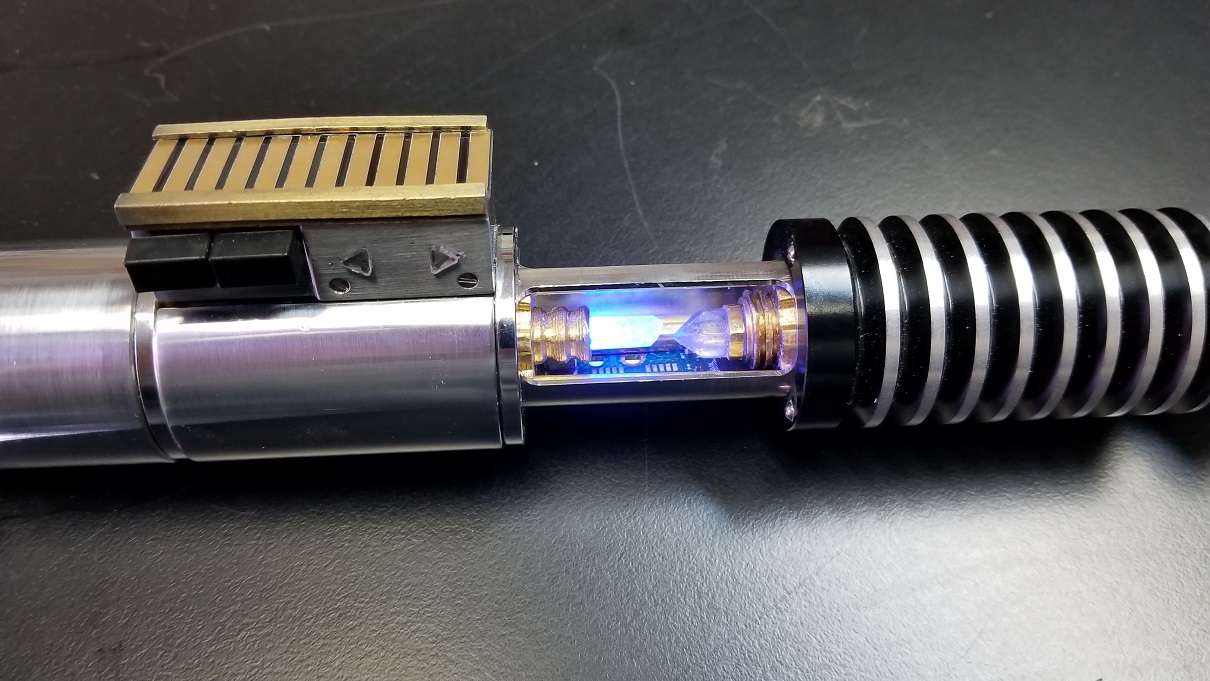
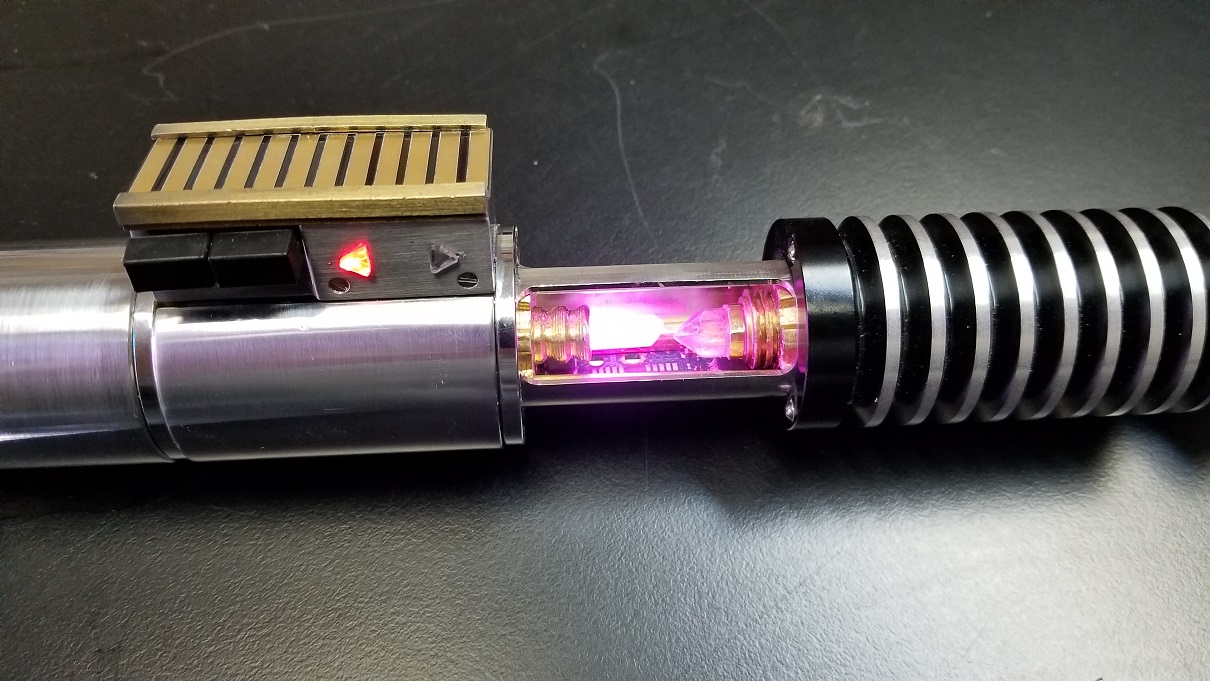
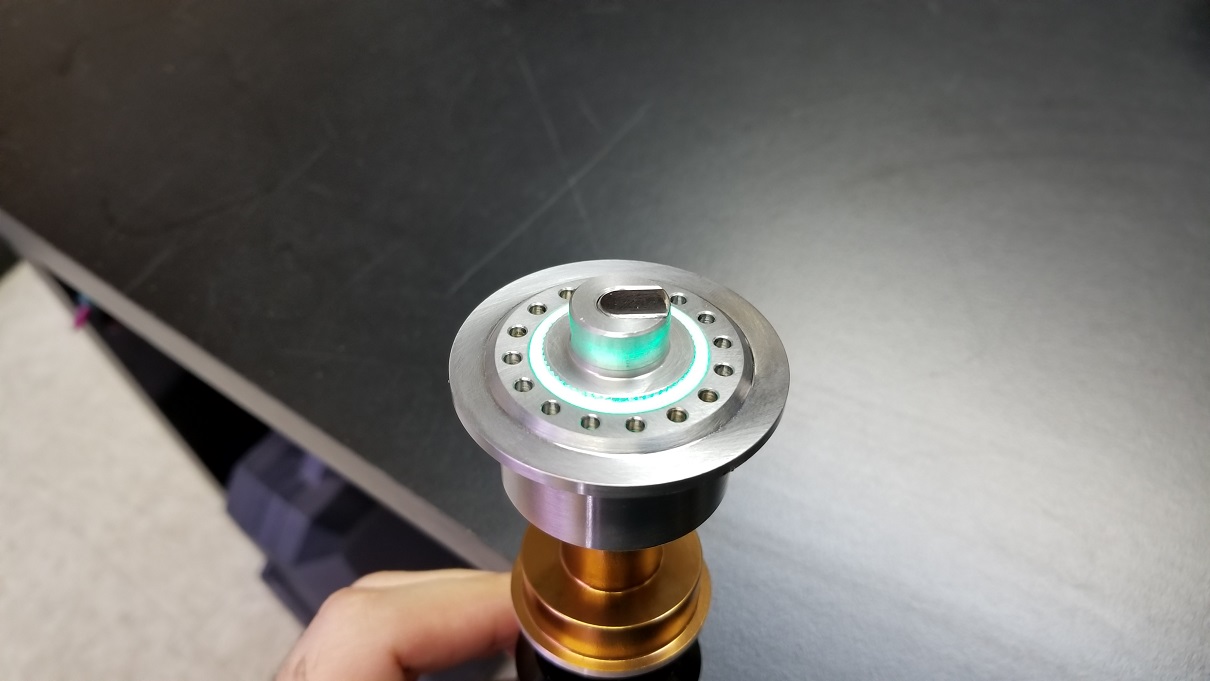
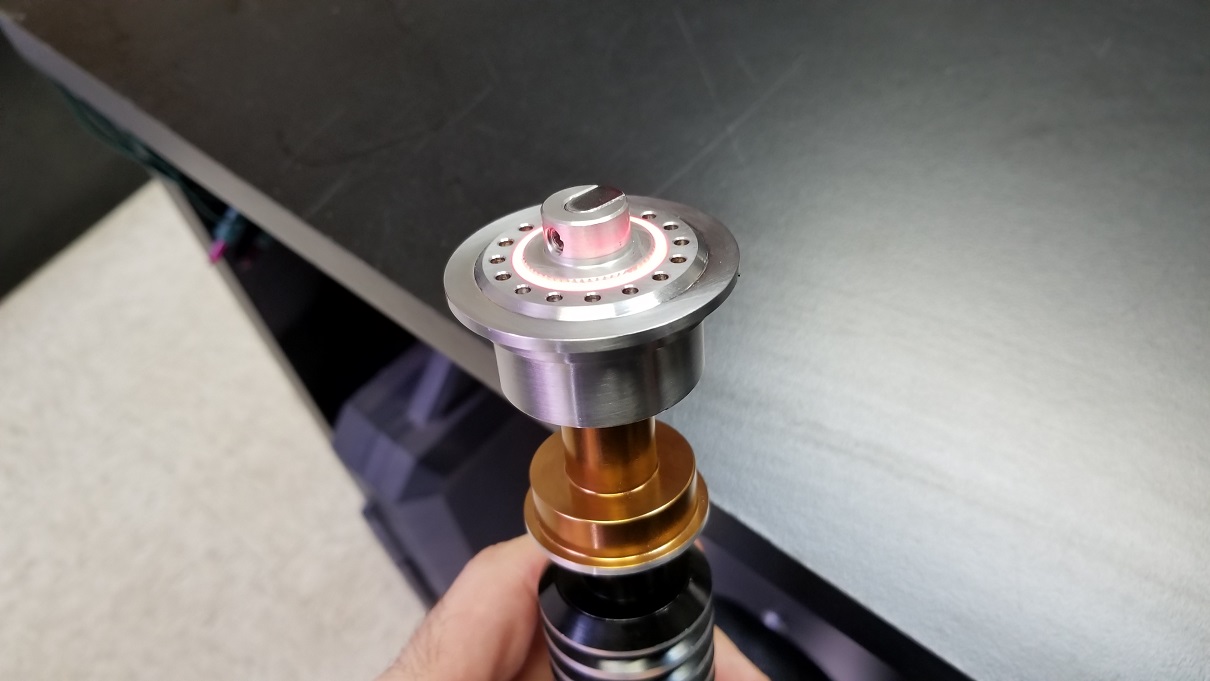
Lit up crystal chamber.

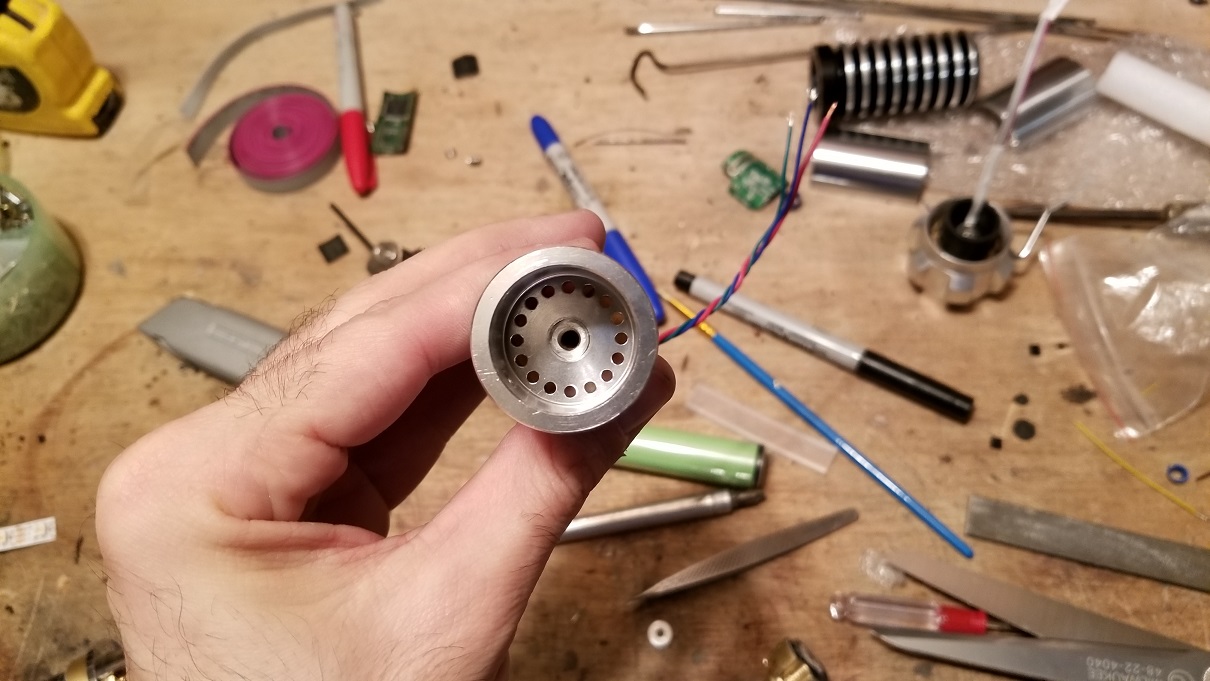
Rear Speaker.
Removable battery - Important for recharge/swap.
Multicolor change.
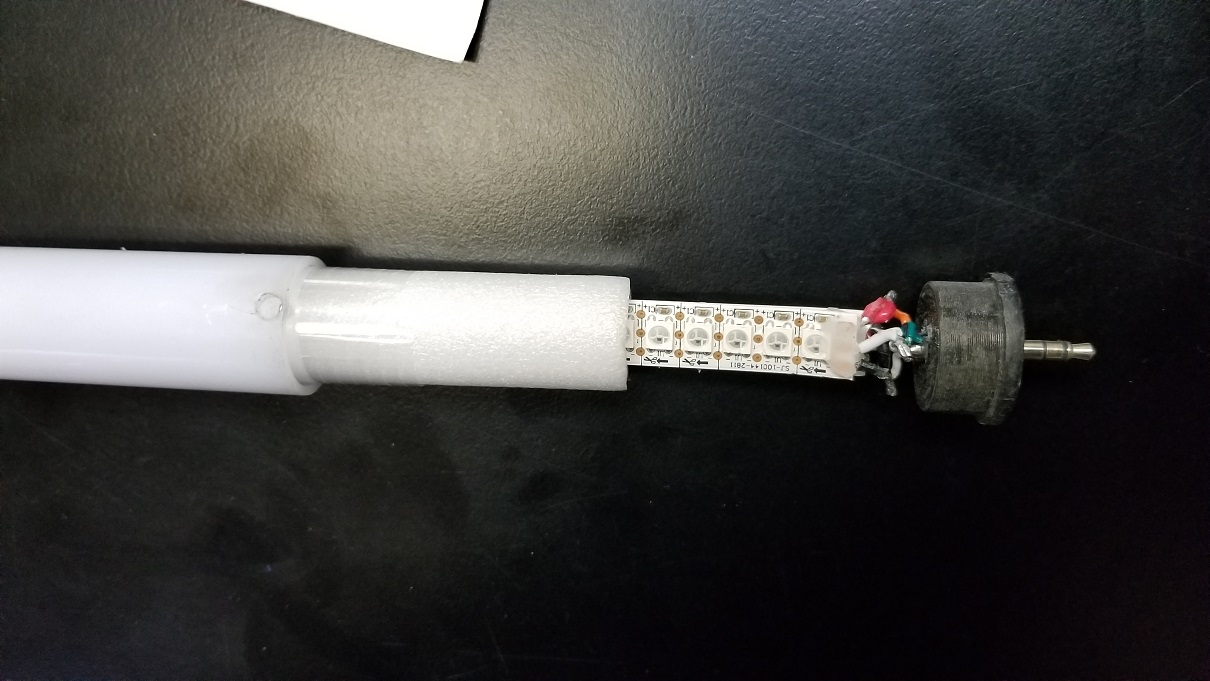
Create and assemble LED Blade. Very similar to the blade plug before with a few differences.
1) LED's are wired together back to back.
2) Feed the LED's into the cylinder packing foam to difuse the light
3) Use clear wrap to further diffuse the light.
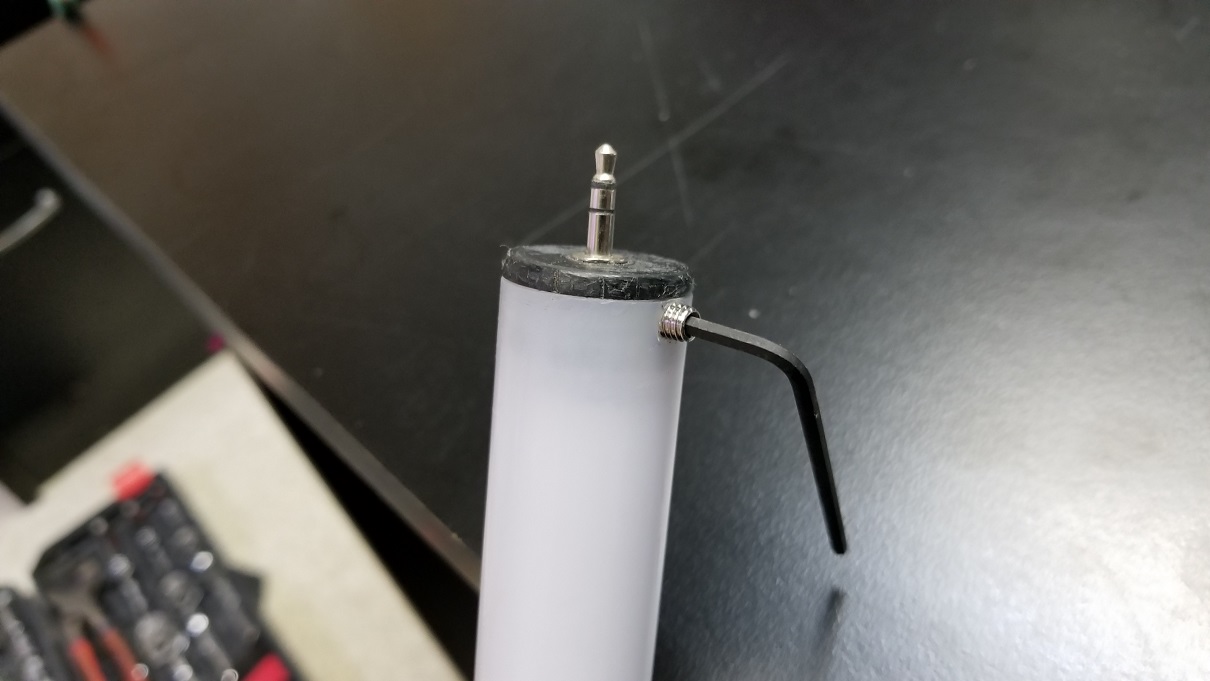
Lock it in place.
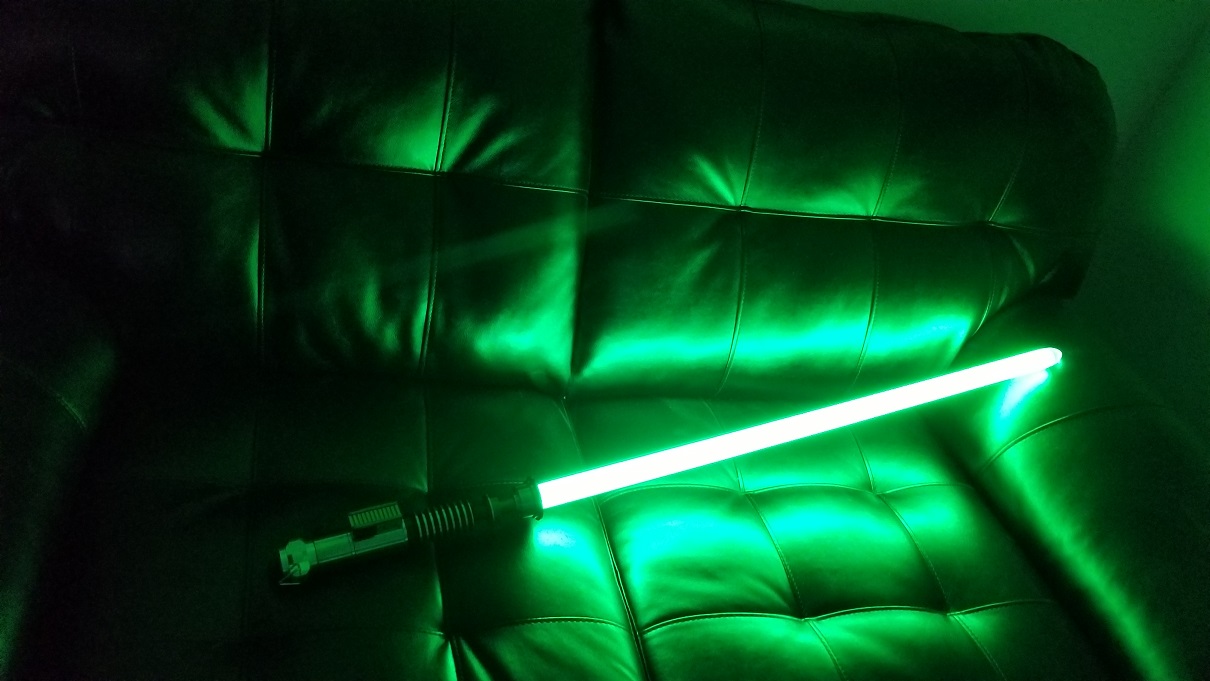
Bam! Your saber is Green.
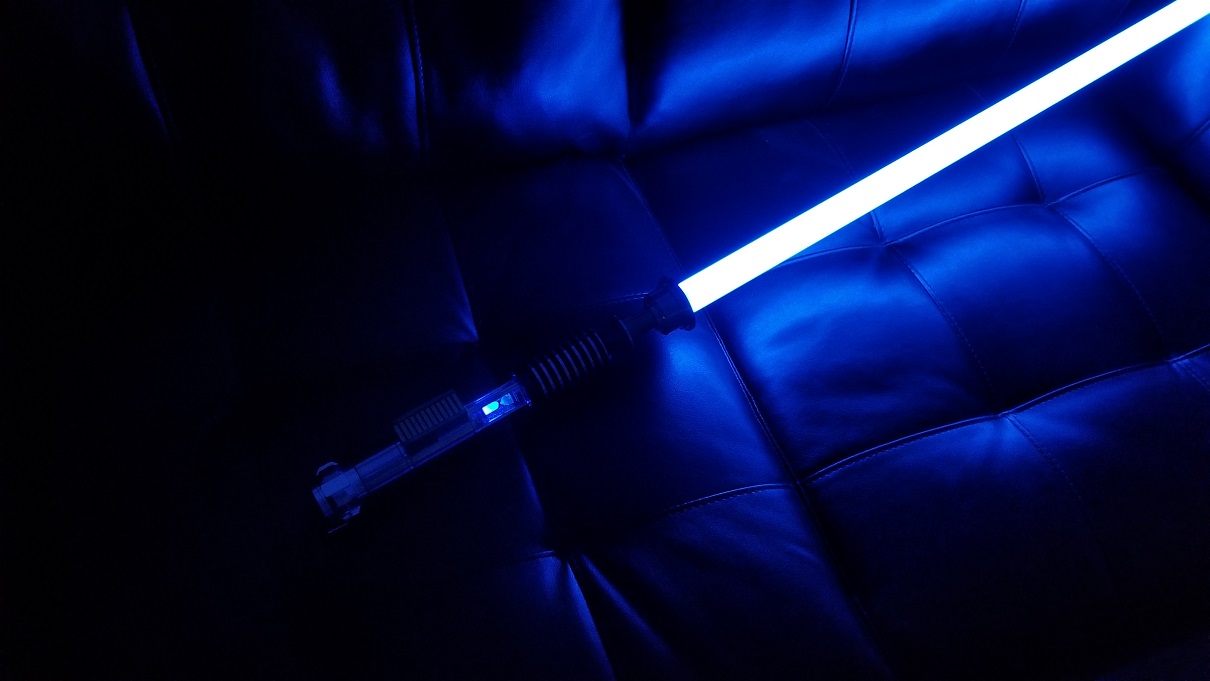
I am a magician. Your saber is blue!
Ignite!
Later!