My son got model rockets for his birthday. After looking over the kit that comes from Estes, I look at the launcher that is included.
This thing did not sit well with me. It sends out 4.6 volts to test for continuity (not sure of the amp) then 5.8 when trying to launch. In addition, the thing was hard as heck for a 6 year old to hold down the kill key and press the button at the same time.
Time to build a launcher. A better launcher. One with some flare. Let's get some supplies, shall we?
1) 24" x 24" x 1/2" plywood
2) Some LED's
7) Case Lock
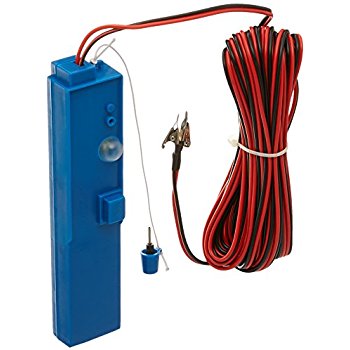
9) Some 18 Gauge Wire
Let's do this. Start with the wood.

Cut and glue together the base of the controller.

Leave the right side pocket for storage.

Mark out the position of all the buttons on the face of the controller.

Not knowing what the voltage display was like at first, I had to make a plate out of bar aluminum on the right.

I then mounted the display to the face of the controller.


Fill in all the holes with wood filler.


Sand and paint up everything. Start mounting all the buttons on the face of the controller.

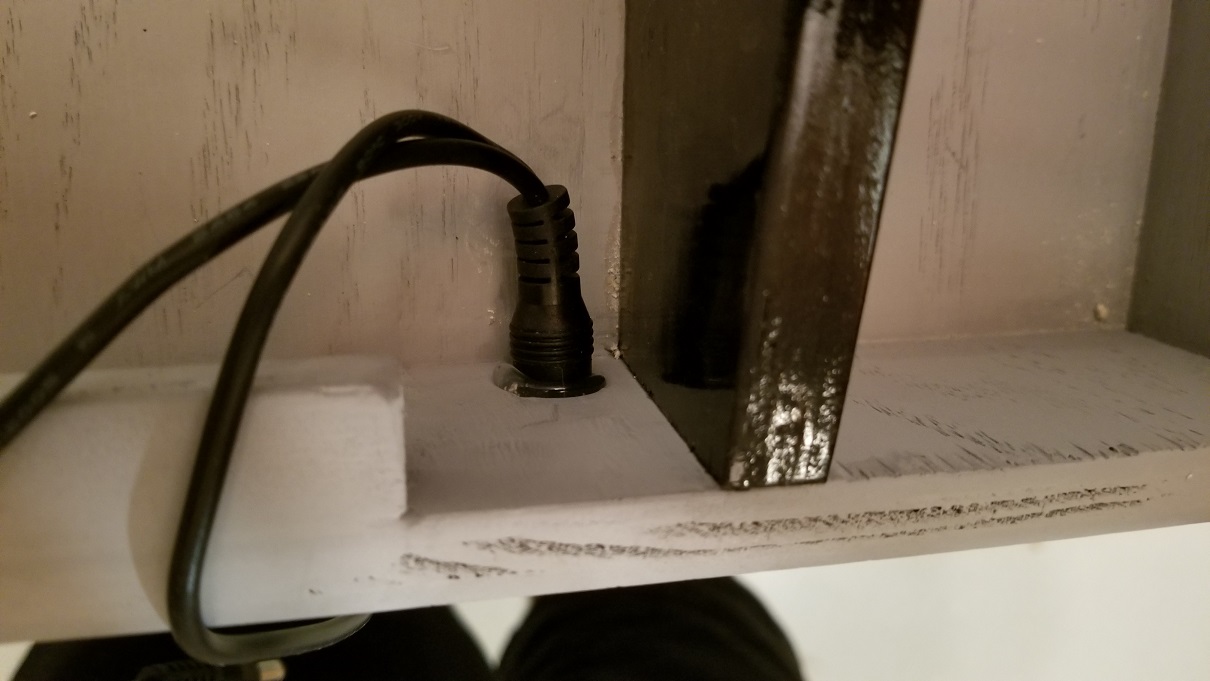
Mount the recharge port using hot glue.

Wire up and solder the inside of the controller.

Add electronics for a continuity check button to determine if the rocket is hooked up correctly.

These AAA batteries kept becoming dislodged, screwing up the continuity switch, so I had to create a cover to hold it in place.
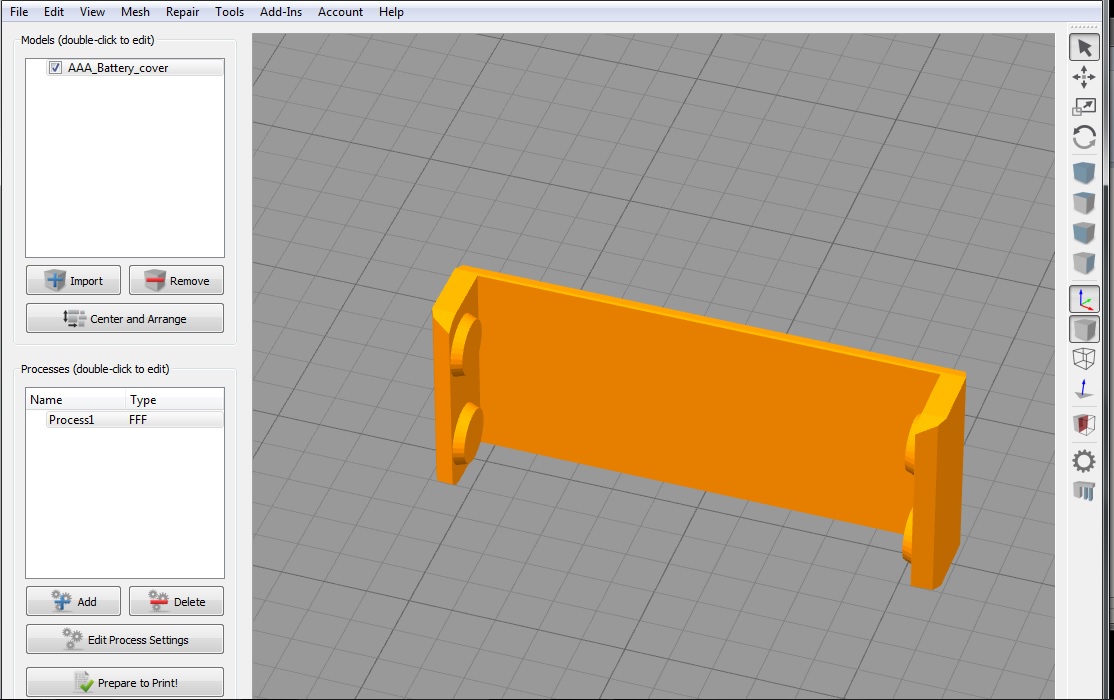

Snaps right on.

Below is the 3.5mm female headphone jack that the leads to the rocket hook up to. Not pictured are the leads that go to the rocket with the male 3.5mm headphone jack end soldered in place.

This was installed on the back of the box. (Firefly points)

Below are the bolts that lead from the inside of the box to the outside.

These bolts can be used to hook up an external battery in case the internal one runs out. (Star Trek points)

Here is a picture of the other side because Star Wars, that's why.

Finished product. (NASA points)

Finished product tutorial.
Finished product in action.